What’s a nail knot and when is it used?
Many modern fly lines are designed with welded loops, allowing for leader to be attached quickly loop-to-loop. Prior to the invention of welded loop fly lines, however, nail knots were commonly used to attach a butt section of monofilament to the fly line. The leader would then be tied to the butt section, rather than directly to the fly line to extend the life of the fly line.
Loop-to-loop is certainly simpler, but some fly fishermen still prefer using a nail knot and a butt section. In our opinion, this method better transfers the energy from the fly line to the fly by turning the leader over more efficiently.
Tying a nail knot:
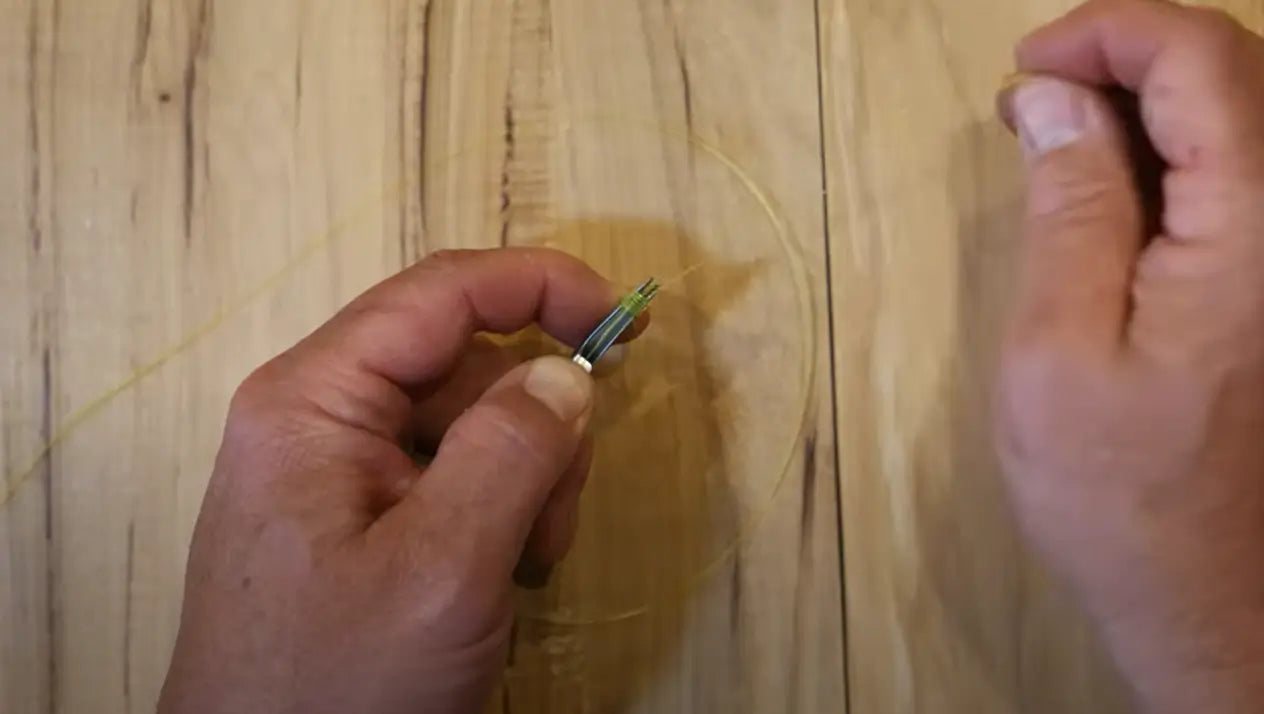
A nail knot is one of the more complicated knots to tie. For this reason, we always use a Tie-Fast Tool—an ingenious tool that makes tying a nail knot simple. Here’s how to use it:
- Place your butt section in the notch of the tool, leaving about 6 inches sticking out of the front (or tip) of the tool.
- Hold the butt section in place with your thumb. Wrap the end of the butt section around the tip of the Tie-Fast, working up the tool toward your thumb.
- After 6 or 7 wraps, run the tag end of the butt section through the coils and back out the tip of the tool.
- Continue to pinch everything in place and run the end of your fly line from the tip of the tool, through the coils, and back to your thumb. Pinch the fly line along with the butt section against the tool.
- With a quick pull of the short end of the butt section, the coils will jump off of the tool and wrap around the fly line.
- Adjust the coils to be straight before pulling both ends of the butt section to cinch the knot down.
- Trim the tag ends of the fly line and butt section.
- Blood knot your leader to the butt section… and go fishing!
Need a visual? Follow along in the video below as Montana Casting Company founder and rod-building wizard Scott Joyner walks through the steps of tying a nail knot. Happy fishing!

0 comments