Montana Casting Co. Fly Fishing Blog
Fly Fishing Tips and Tricks

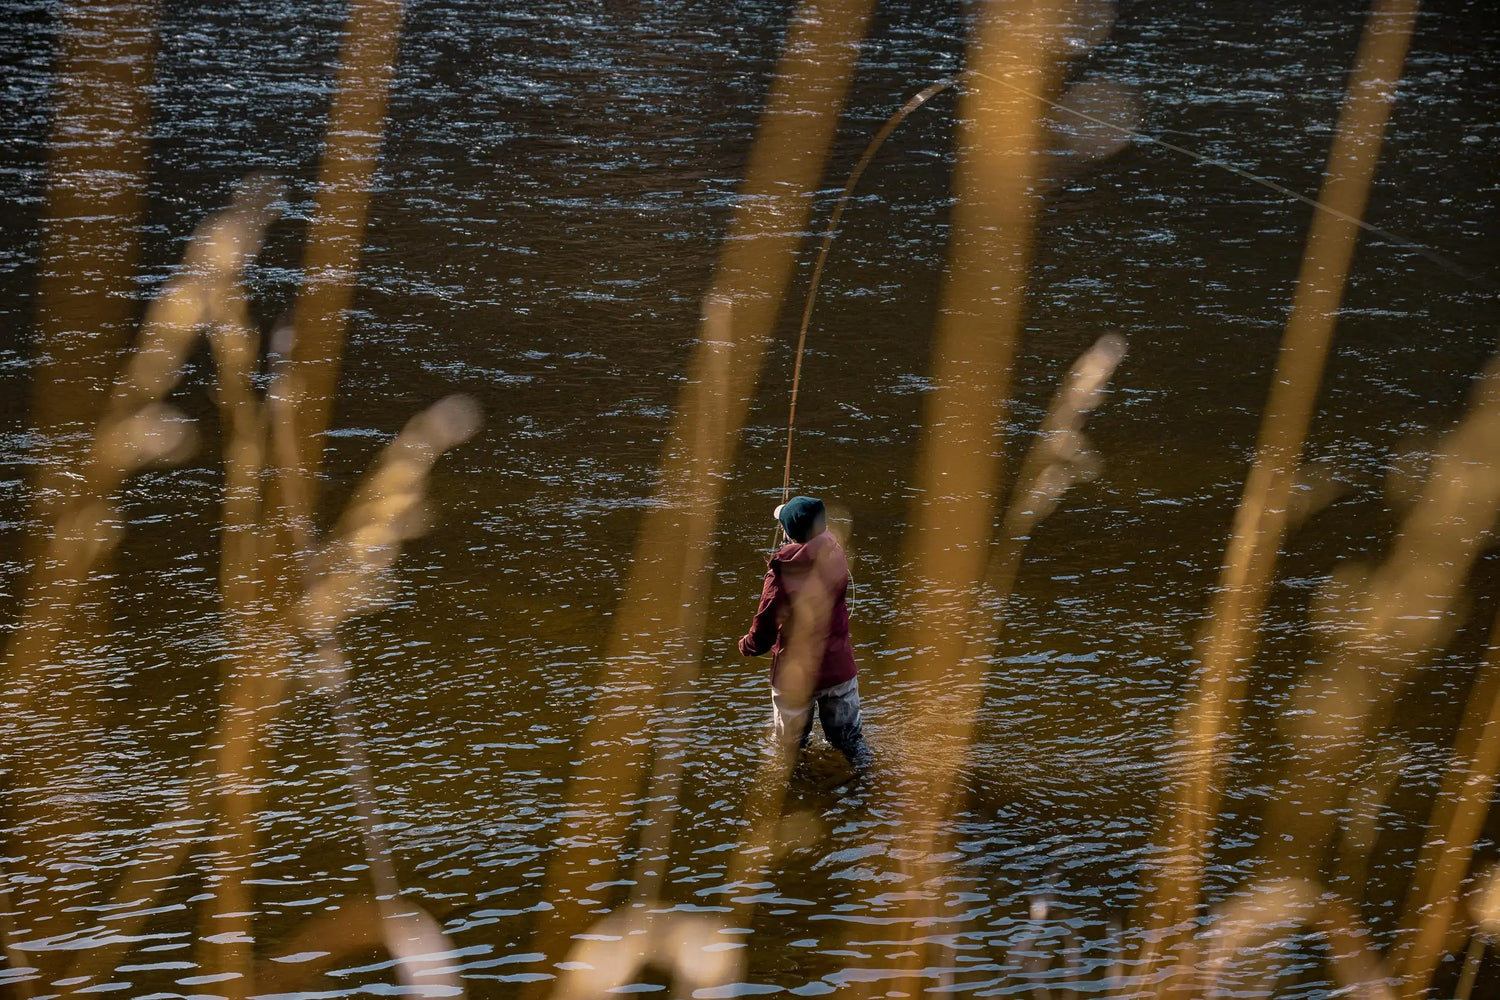
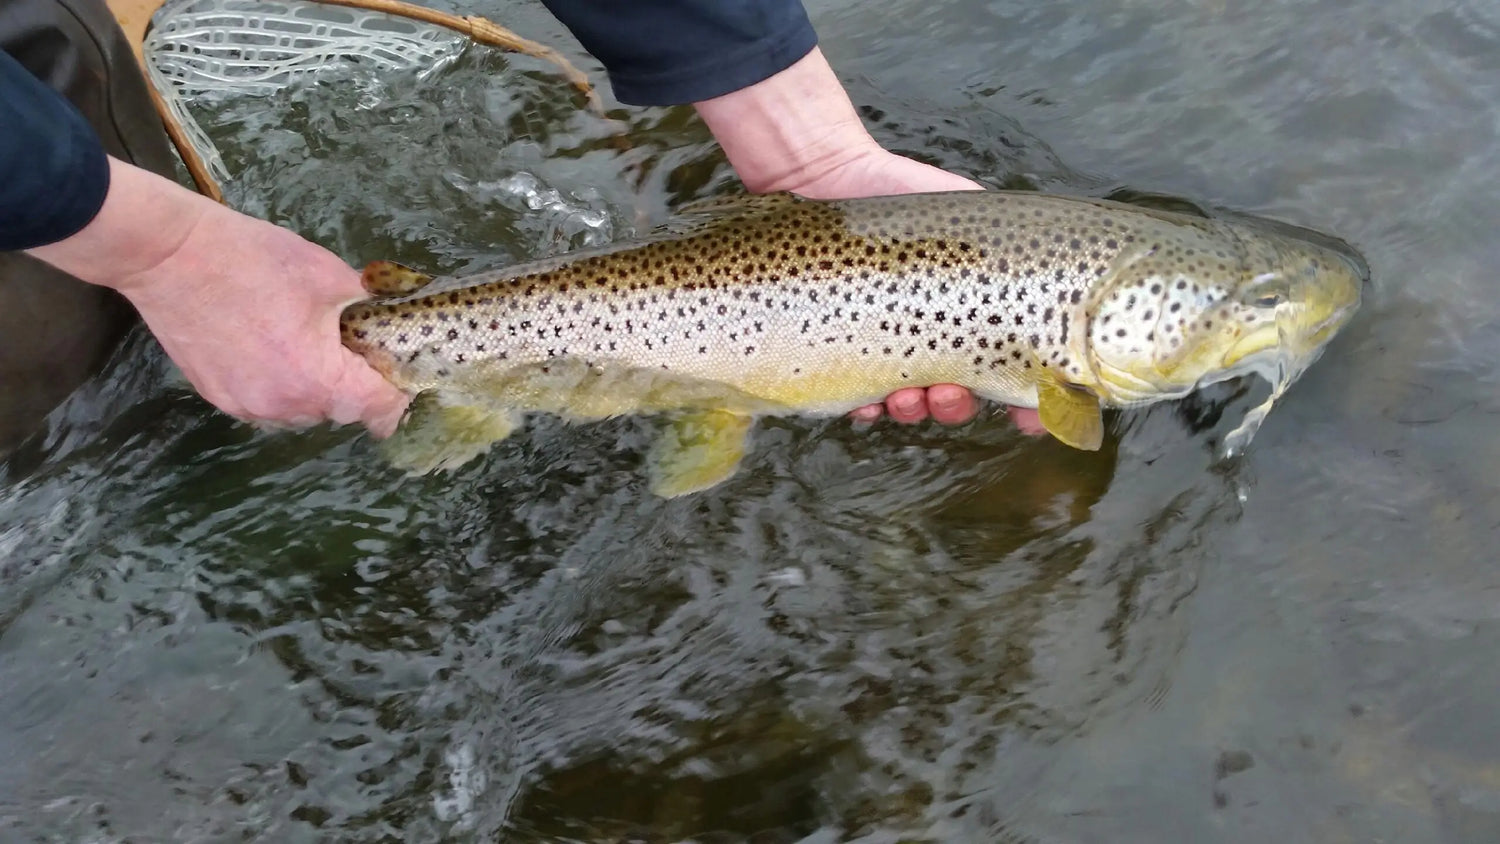
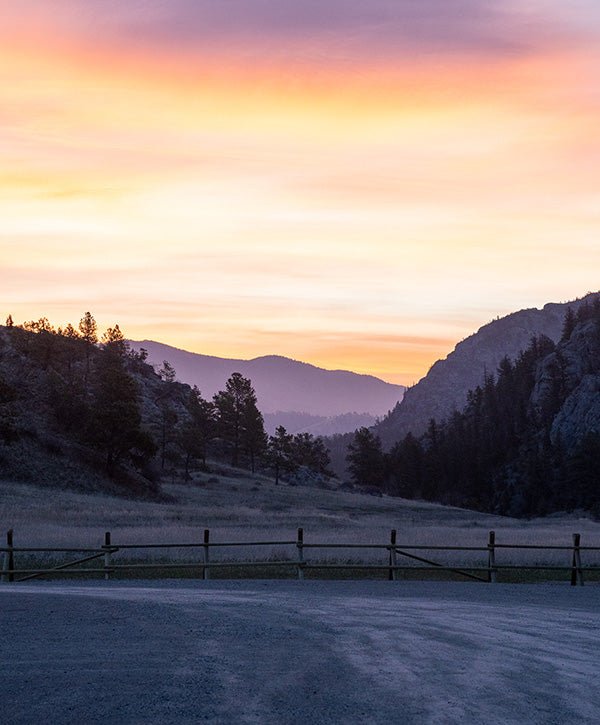
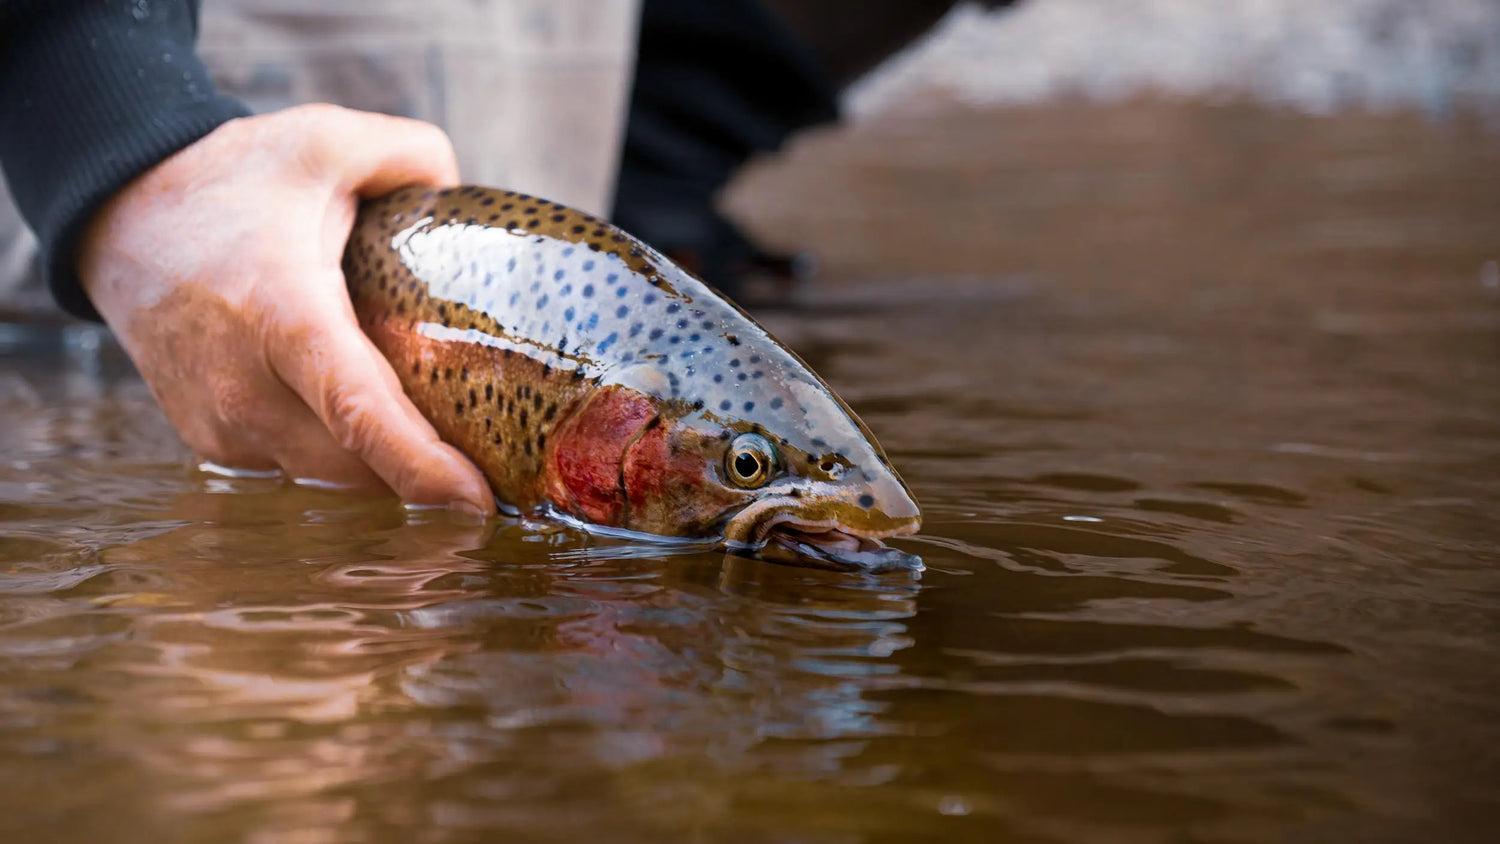
First Texas Rainbows on a Montana Fly Rod
By Brian Landry I caught my first Texas rainbows this week in a small, freshly stocked pond not far from home. It wasn’t the kind of water that asks for...
2025: Another Year of Fly Rods and Fishing Stories
Another year of fly fishing (and selling fly rods) is behind us, but we'd like to start this "Year in Review" with a simple thank you. There are bigger, older...
Five Ways to Give a Fly Rod
Use misdirection. If you want to keep your loved ones guessing about what’s under the tree this year, there’s nothing like a bit of good old-fashioned misdirection. When it comes...
How to Fly Fish the Missouri in the Off Season
by Kevin Lyons Winter months are typically fly-tying months for me. From late November through early March, I try to fill my boxes with all the flies I think my...

A Brief History of Fishing Regulations
The Debate Around Fishing Regulations Regulations. In Montana, we’re all familiar with those floppy, pulp-paper manuals—the ones with the bright yellow logo of Fish, Wildlife & Parks and “FISHING” or...
Fly Fishing the Missouri in October
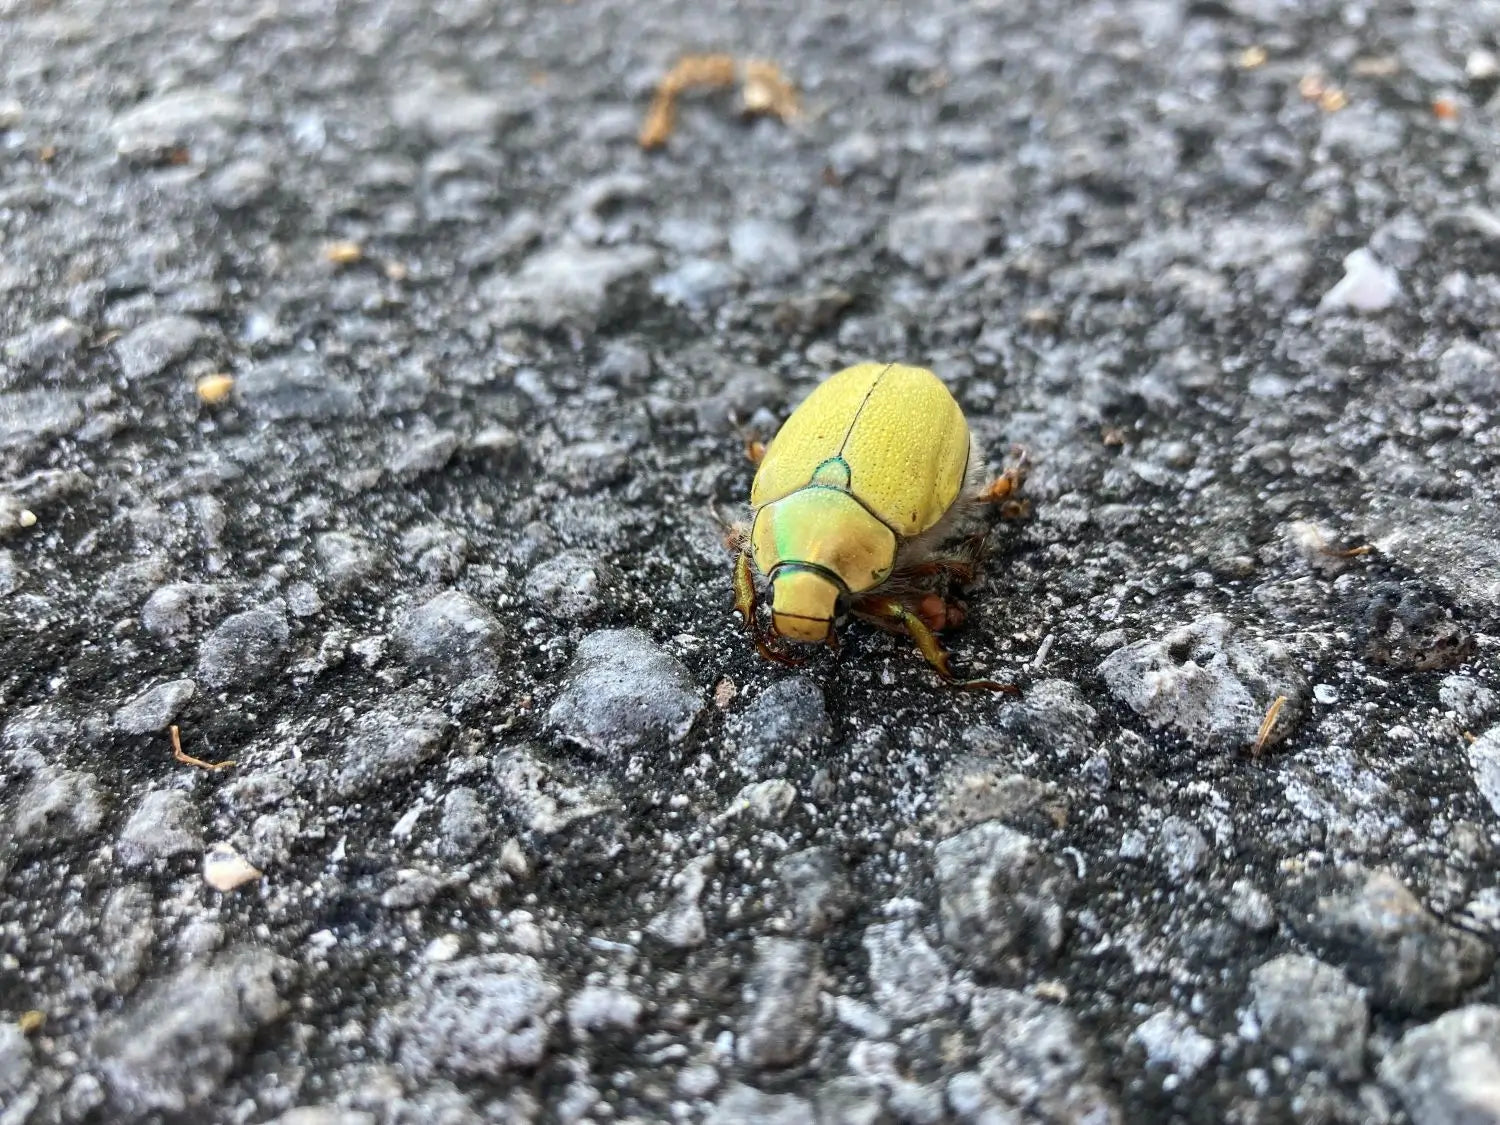
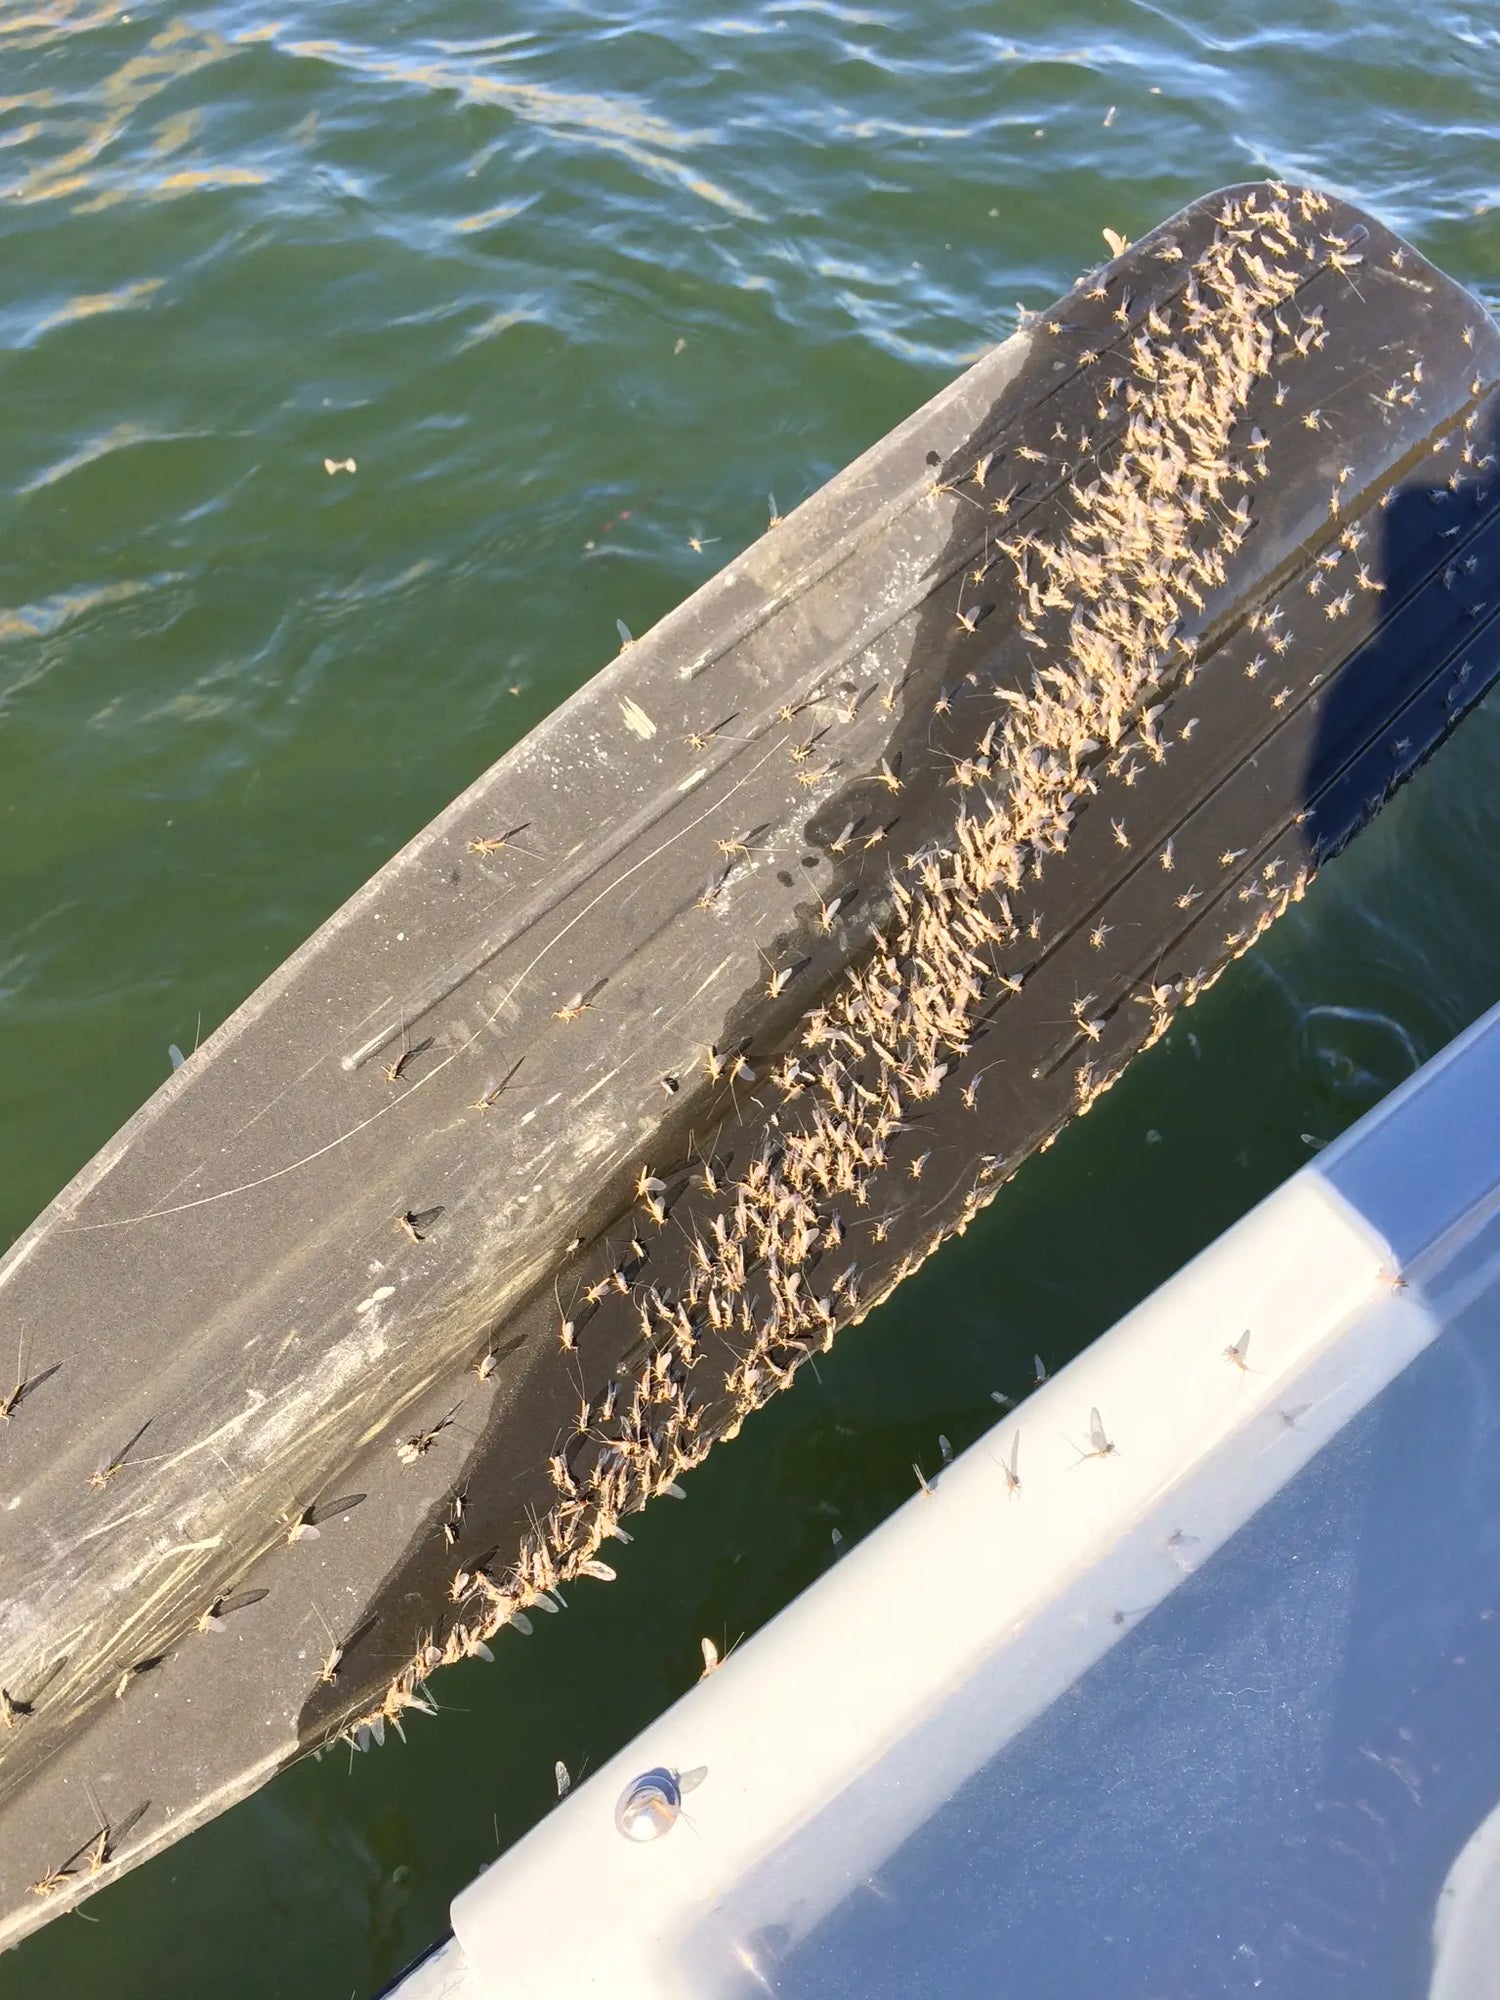
Kevin Lyons is a fly fisherman and entomologist who’s been observing Montana’s Missouri River and its ecosystem for years. In today’s blog, he shares his field notes on the bugs...
How to Fly Fish with Terrestrials
What are terrestrials and when should you fish them? When we fly fishermen say terrestrials, we’re referring to all those non-aquatic insects and arachnids that occasionally (to their detriment) end...
How to Fish the Missouri River in September
Guest blogger and fly fishing entomologist Kevin Lyons returns to share his observations of the best flies and techniques to use based on his years of fishing Montana’s upper Missouri...
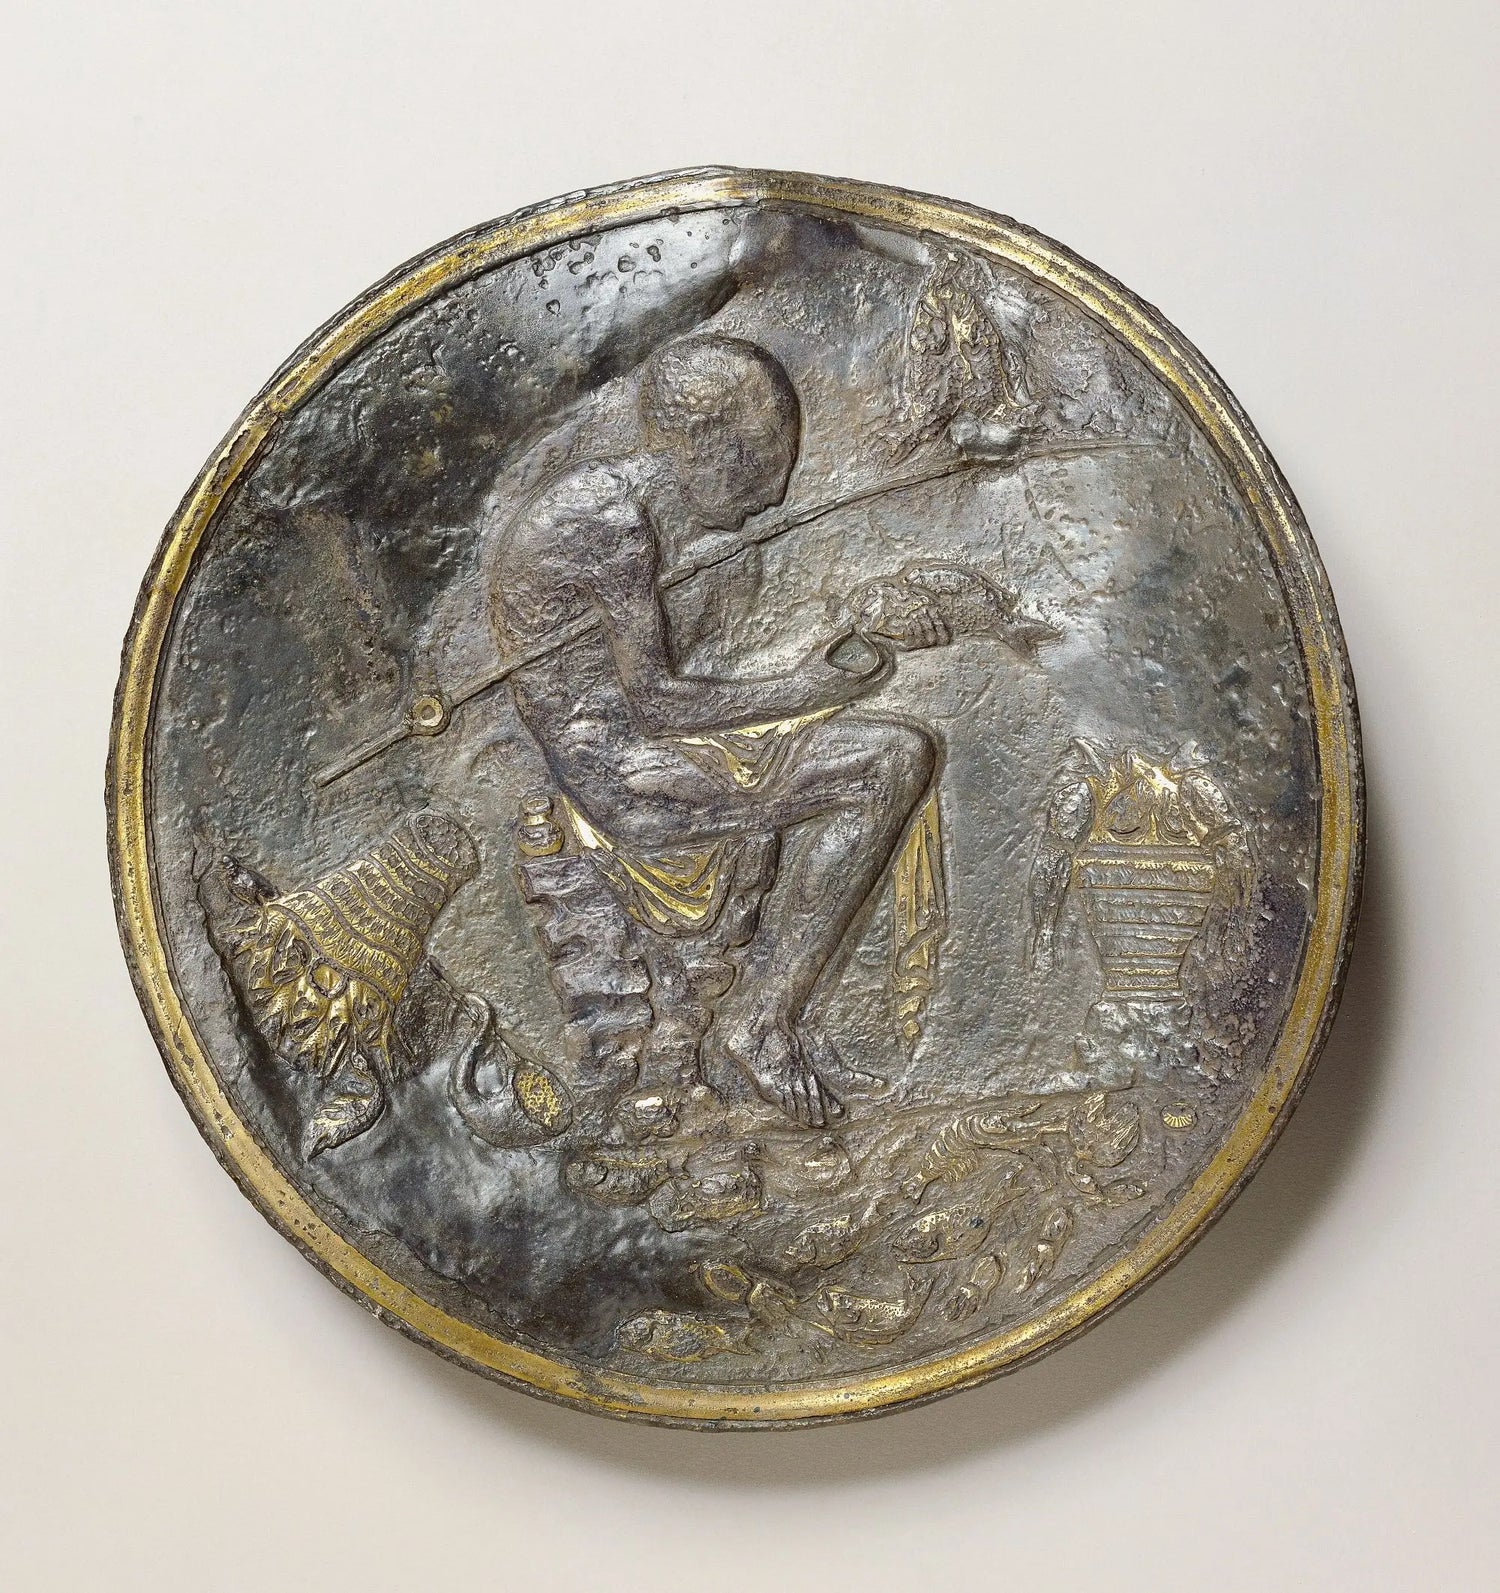
The Ancient Origins of Fly Fishing
In this article, we’ll focus on the evolution of ancient fishing rods and techniques into what we know of as modern Western fly fishing. That said, the origins of fly...
Fly Fishing Strategies for the Missouri in August
Notes from a Fly Fishing Entomologist: August on the Upper Missouri Our guest blogger Kevin Lyons is back with his field notes on fly fishing the Missouri in August: Caddisflies...
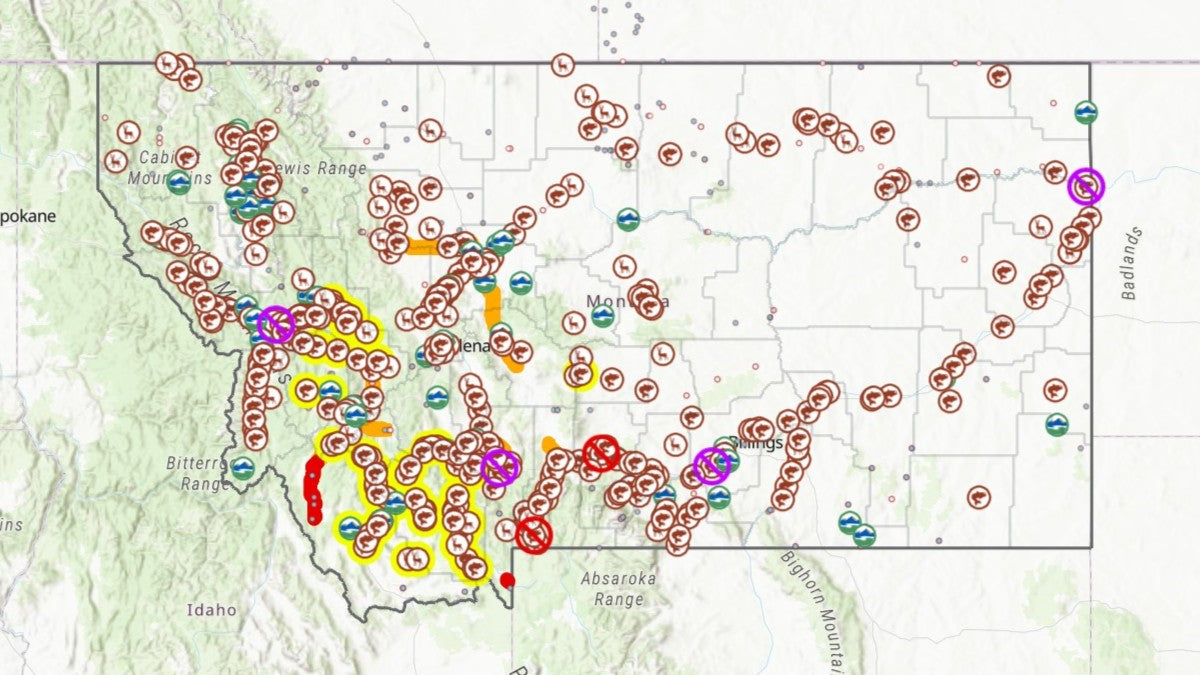
What Are Hoot Owl Restrictions (and Do They Work)?
Fly fishermen who live or frequent the northwest have likely had to reckon with Hoot Owl restrictions in some way, shape, or form. The term originates from the early 1900s...
Flies & Techniques for Fishing the Missouri in July
By: Kevin Lyons July Caddisfly Hatches, Behaviors, and Patterns The White Miller Caddis from June are still present for the first couple of weeks. A light colored #18 caddis (iris,...
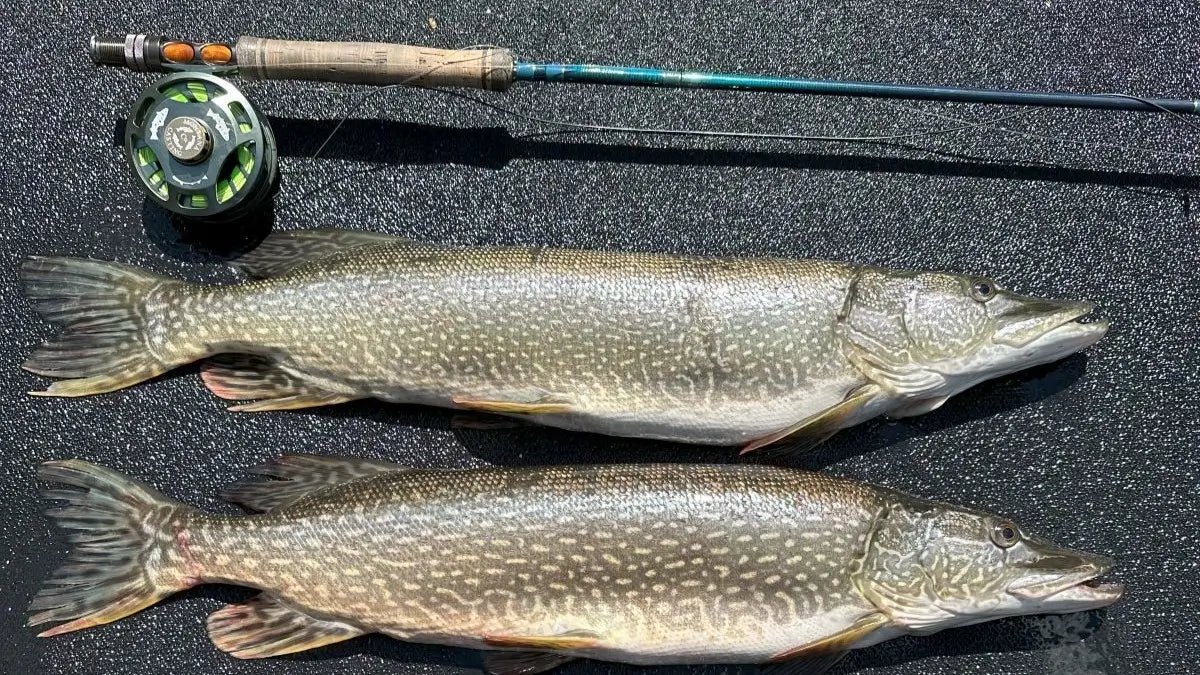
Fly Fishing for Monster Pike: A Five-Year Quest
A story by Steve Boardman Five years ago, after having an estimated 46-inch pike come after a 14-inch largemouth bass I was fighting on a spinning rod, I determined that...
How to Fly Fish the National Parks
Fly fishing amidst the drama of towering peaks, crystal-clear rivers, or seashores untouched by civilization is the sort of vacation we daydream about almost constantly. The National Park Service (NPS)...
Flies to fish on the Missouri River in June
We love fly fishing the Missouri River. Sure, we’re probably biased. Based in Helena, it’s no great challenge to head over to Canyon Ferry or the Wolf Creek Bridge after...

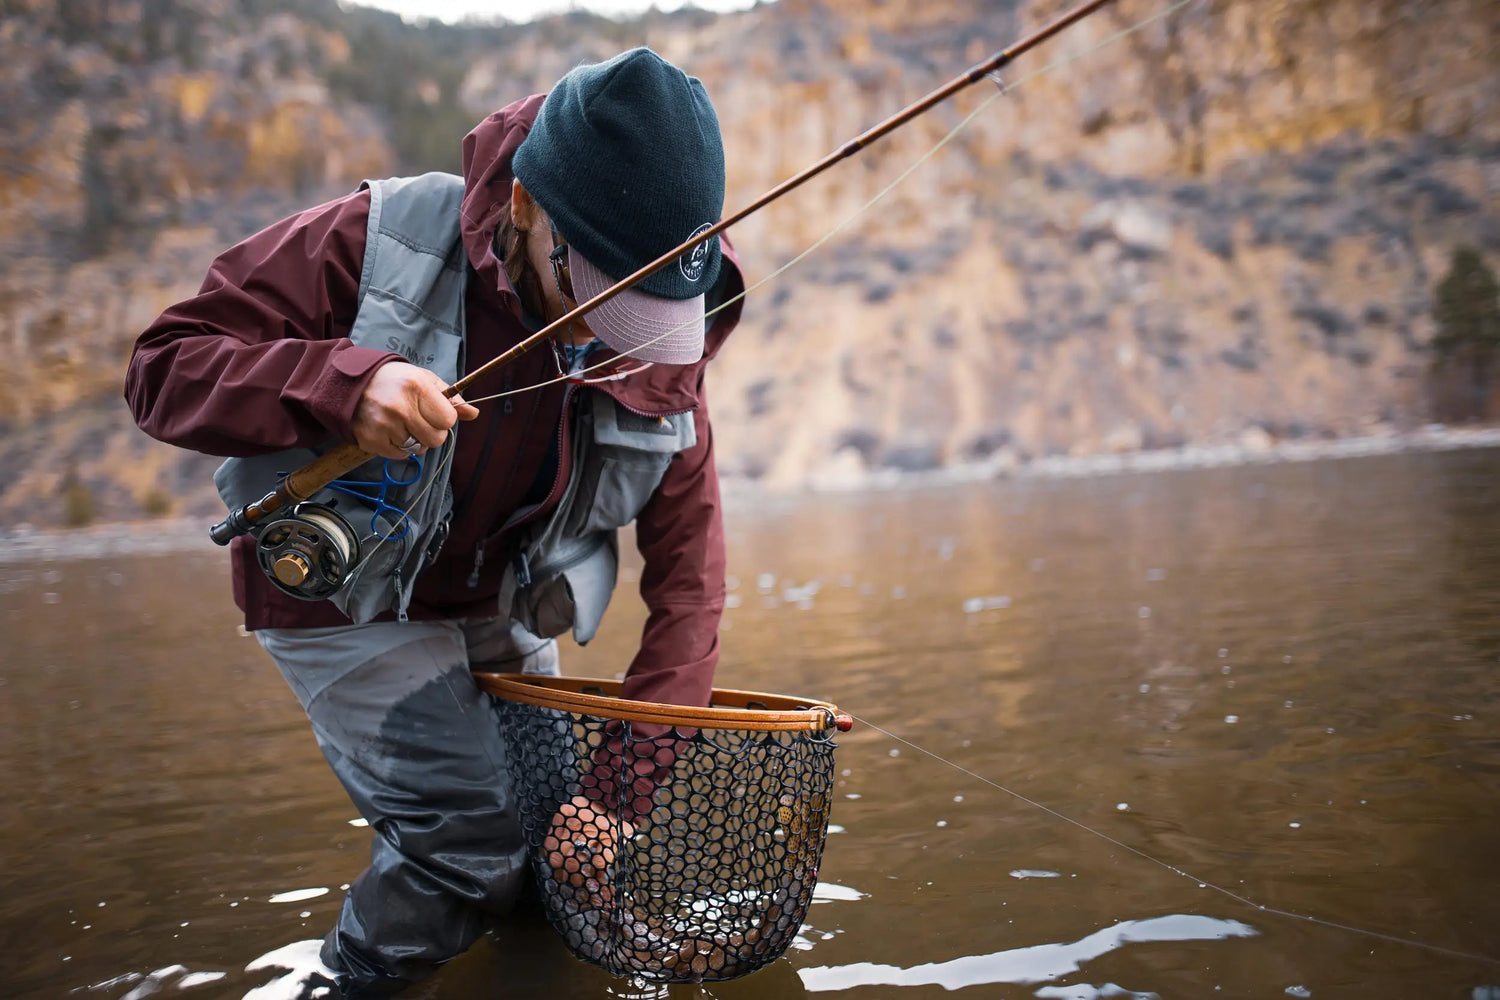
Wilderness First Aid for Fly Fishermen
Fly rod, vest, fly box, and… First aid kit? When we spend our days in the office, it’s hard not to start daydreaming about fly fishing. Where we’ll head to...

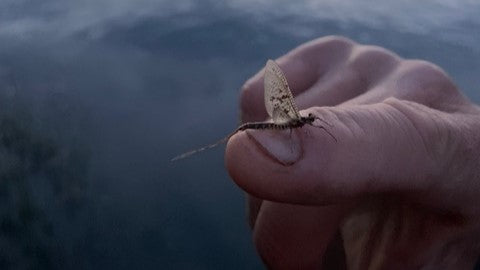
Fly Fishing the Mother’s Day Caddis Hatch
What is a caddisfly? There’s something oddly hypnotic in watching a swarm of caddisflies hover over the water’s surface as sunset paints the horizon orange. The sheer number of insects...
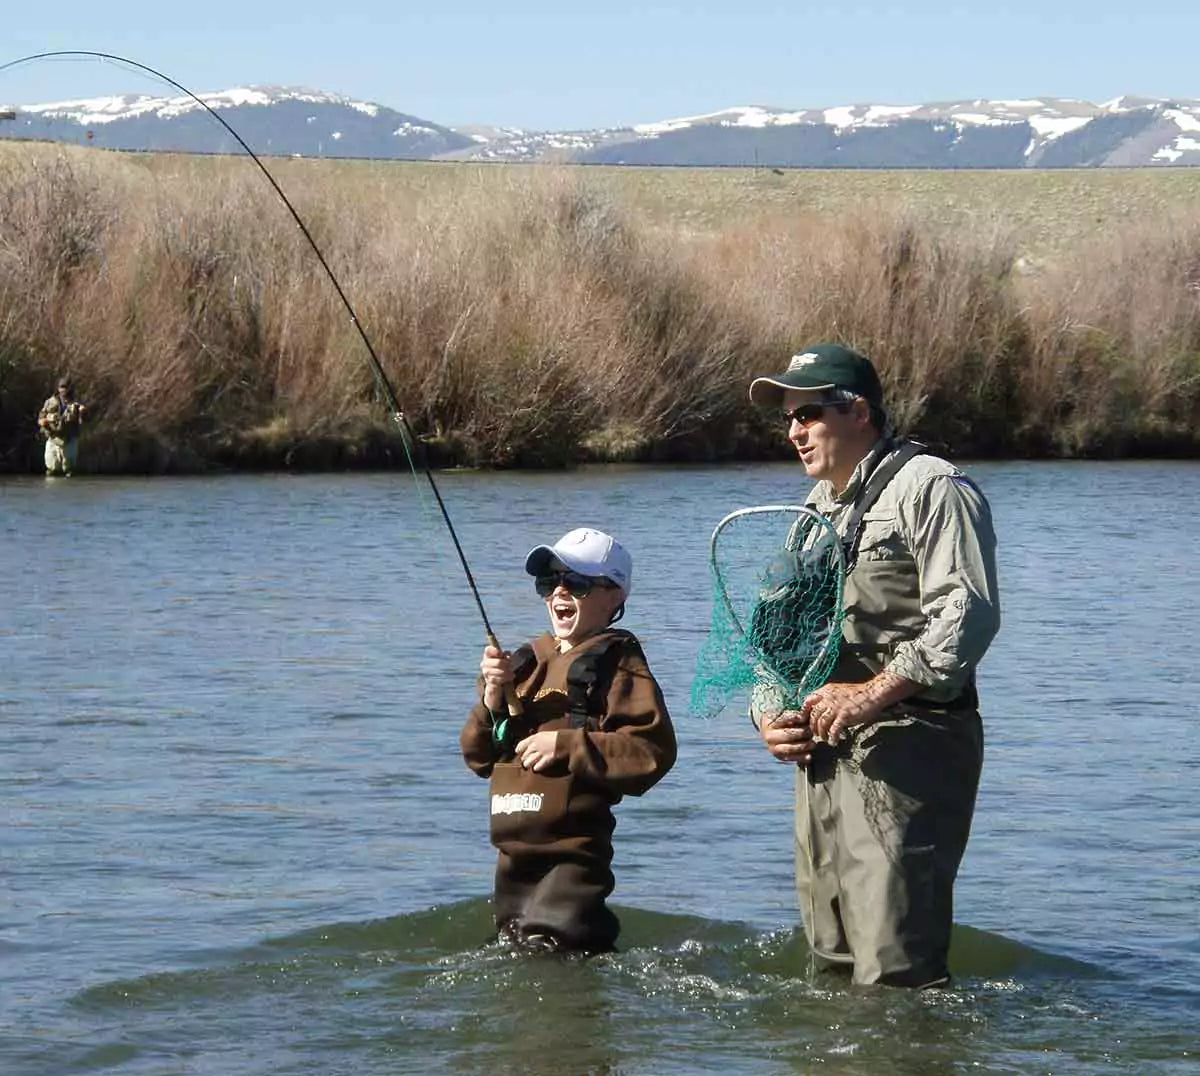
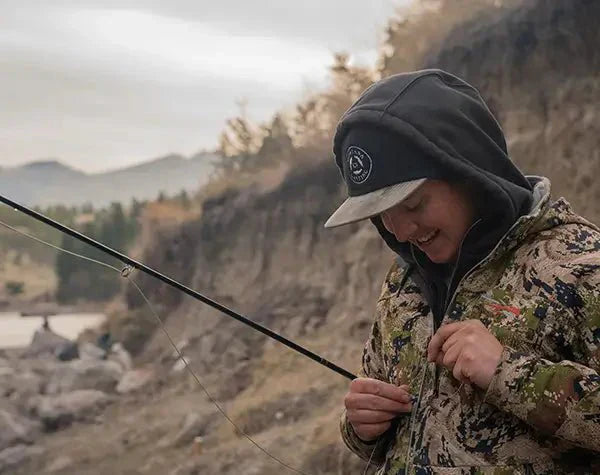
Should I take my kids fly fishing?
Our answer? Of course. If you have a passion for fly fishing, there are few things more impactful than sharing your love for the sport with your kids. Whether or...
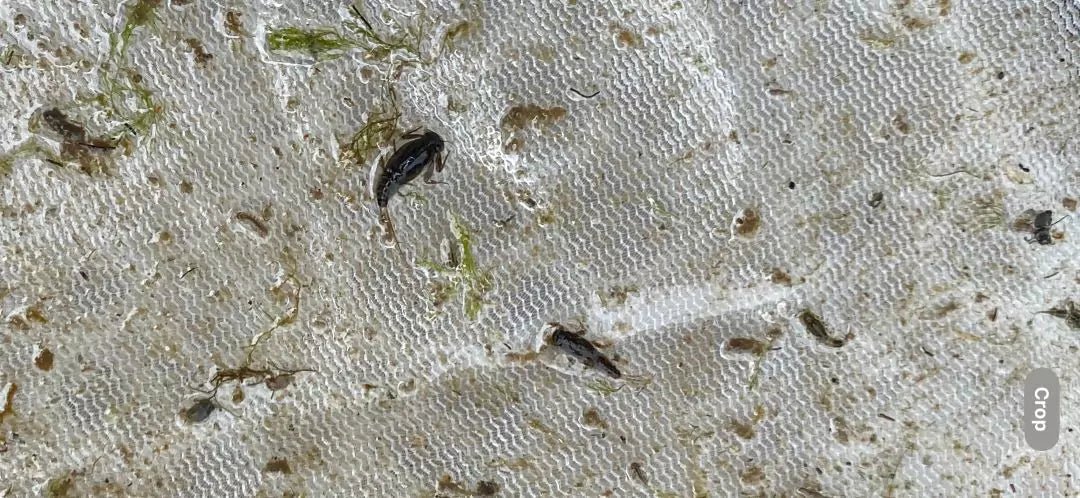
How to Recycle Fly Fishing Lines
The Impacts of Fly Fishing Waste Fly fishing is a beautiful sport. If you don’t agree with that sentiment, then you’ve never gotten to the river in time to watch...
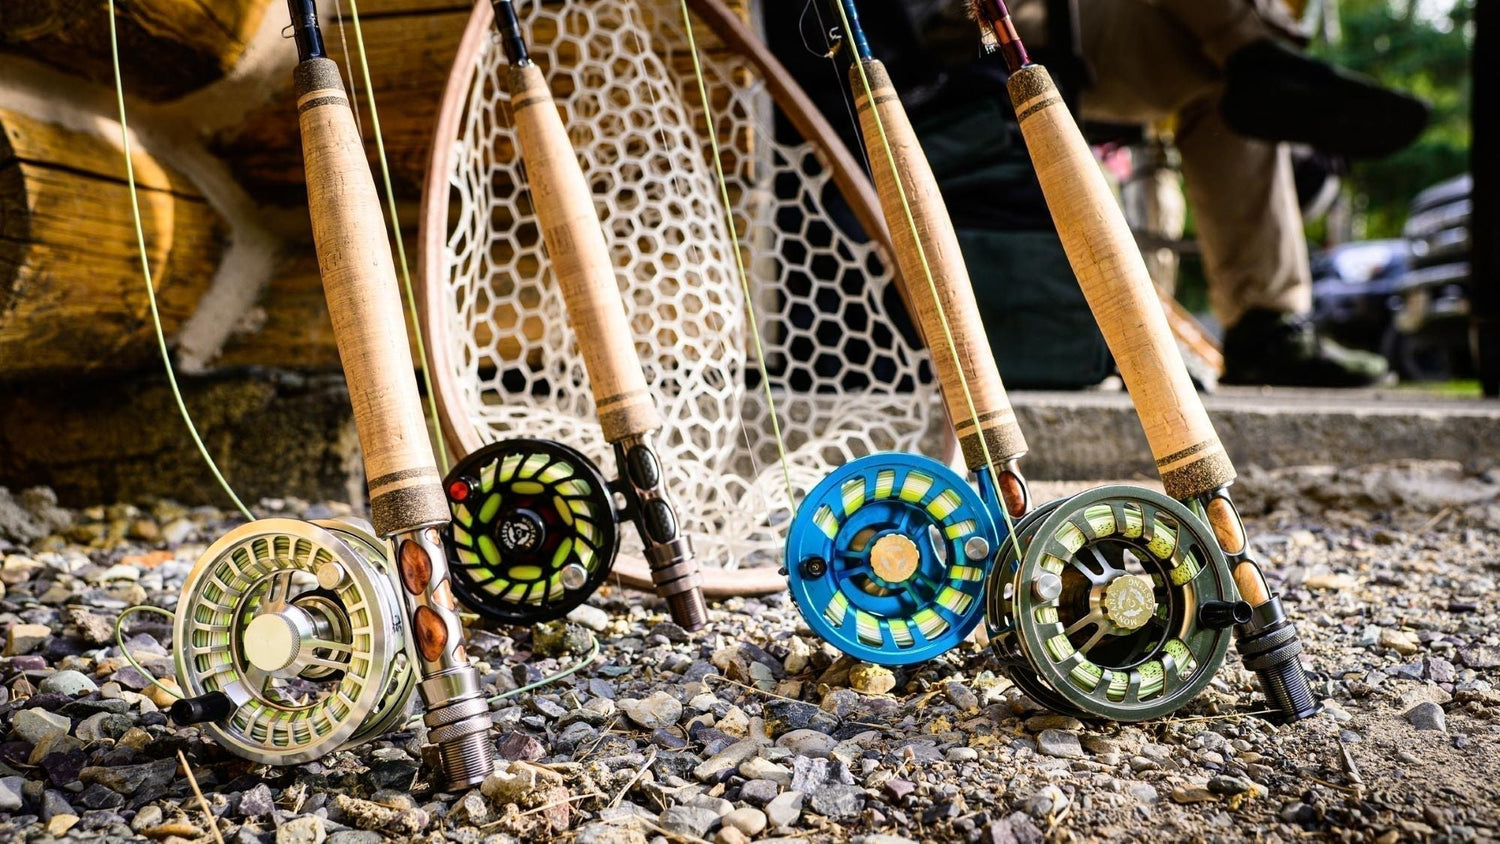
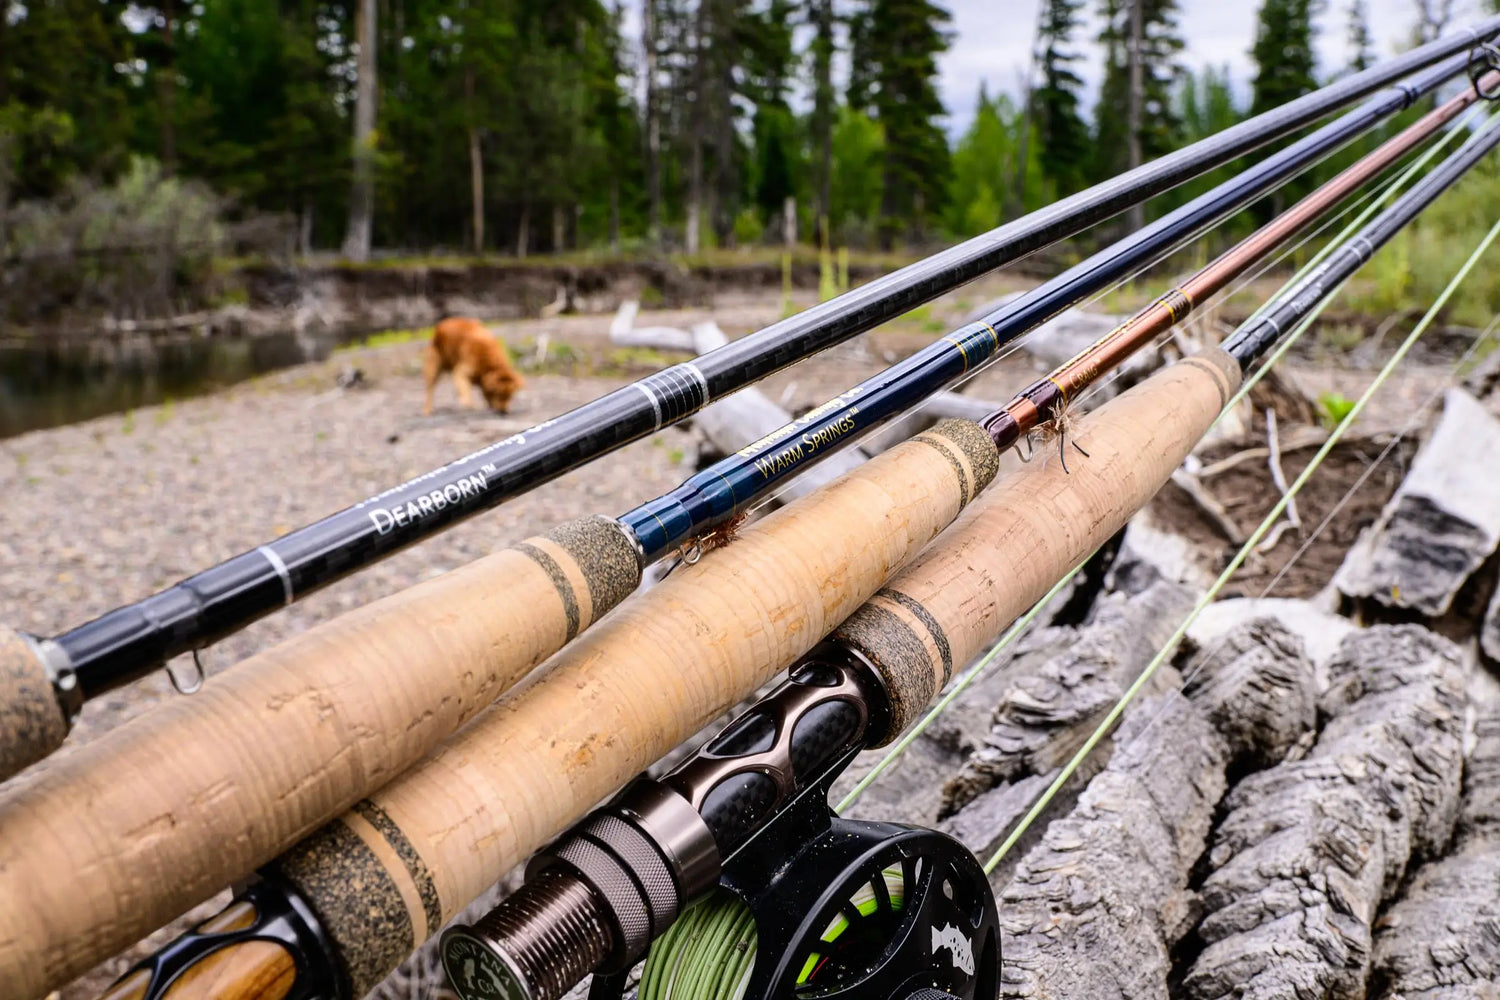
Montana Casting Co. Fly Rods – Differences in Our Models
We’ve spent years building custom fly rods and developing our own fly rod blanks to cover a variety of fishing styles, conditions, and environments—and from that development came three distinct...

Why and When to Overline a Fly Rod
What does overlining a fly rod mean? You may or may not have heard of the concept of overlining your fly rod. (Though, if you’ve followed us for a while...
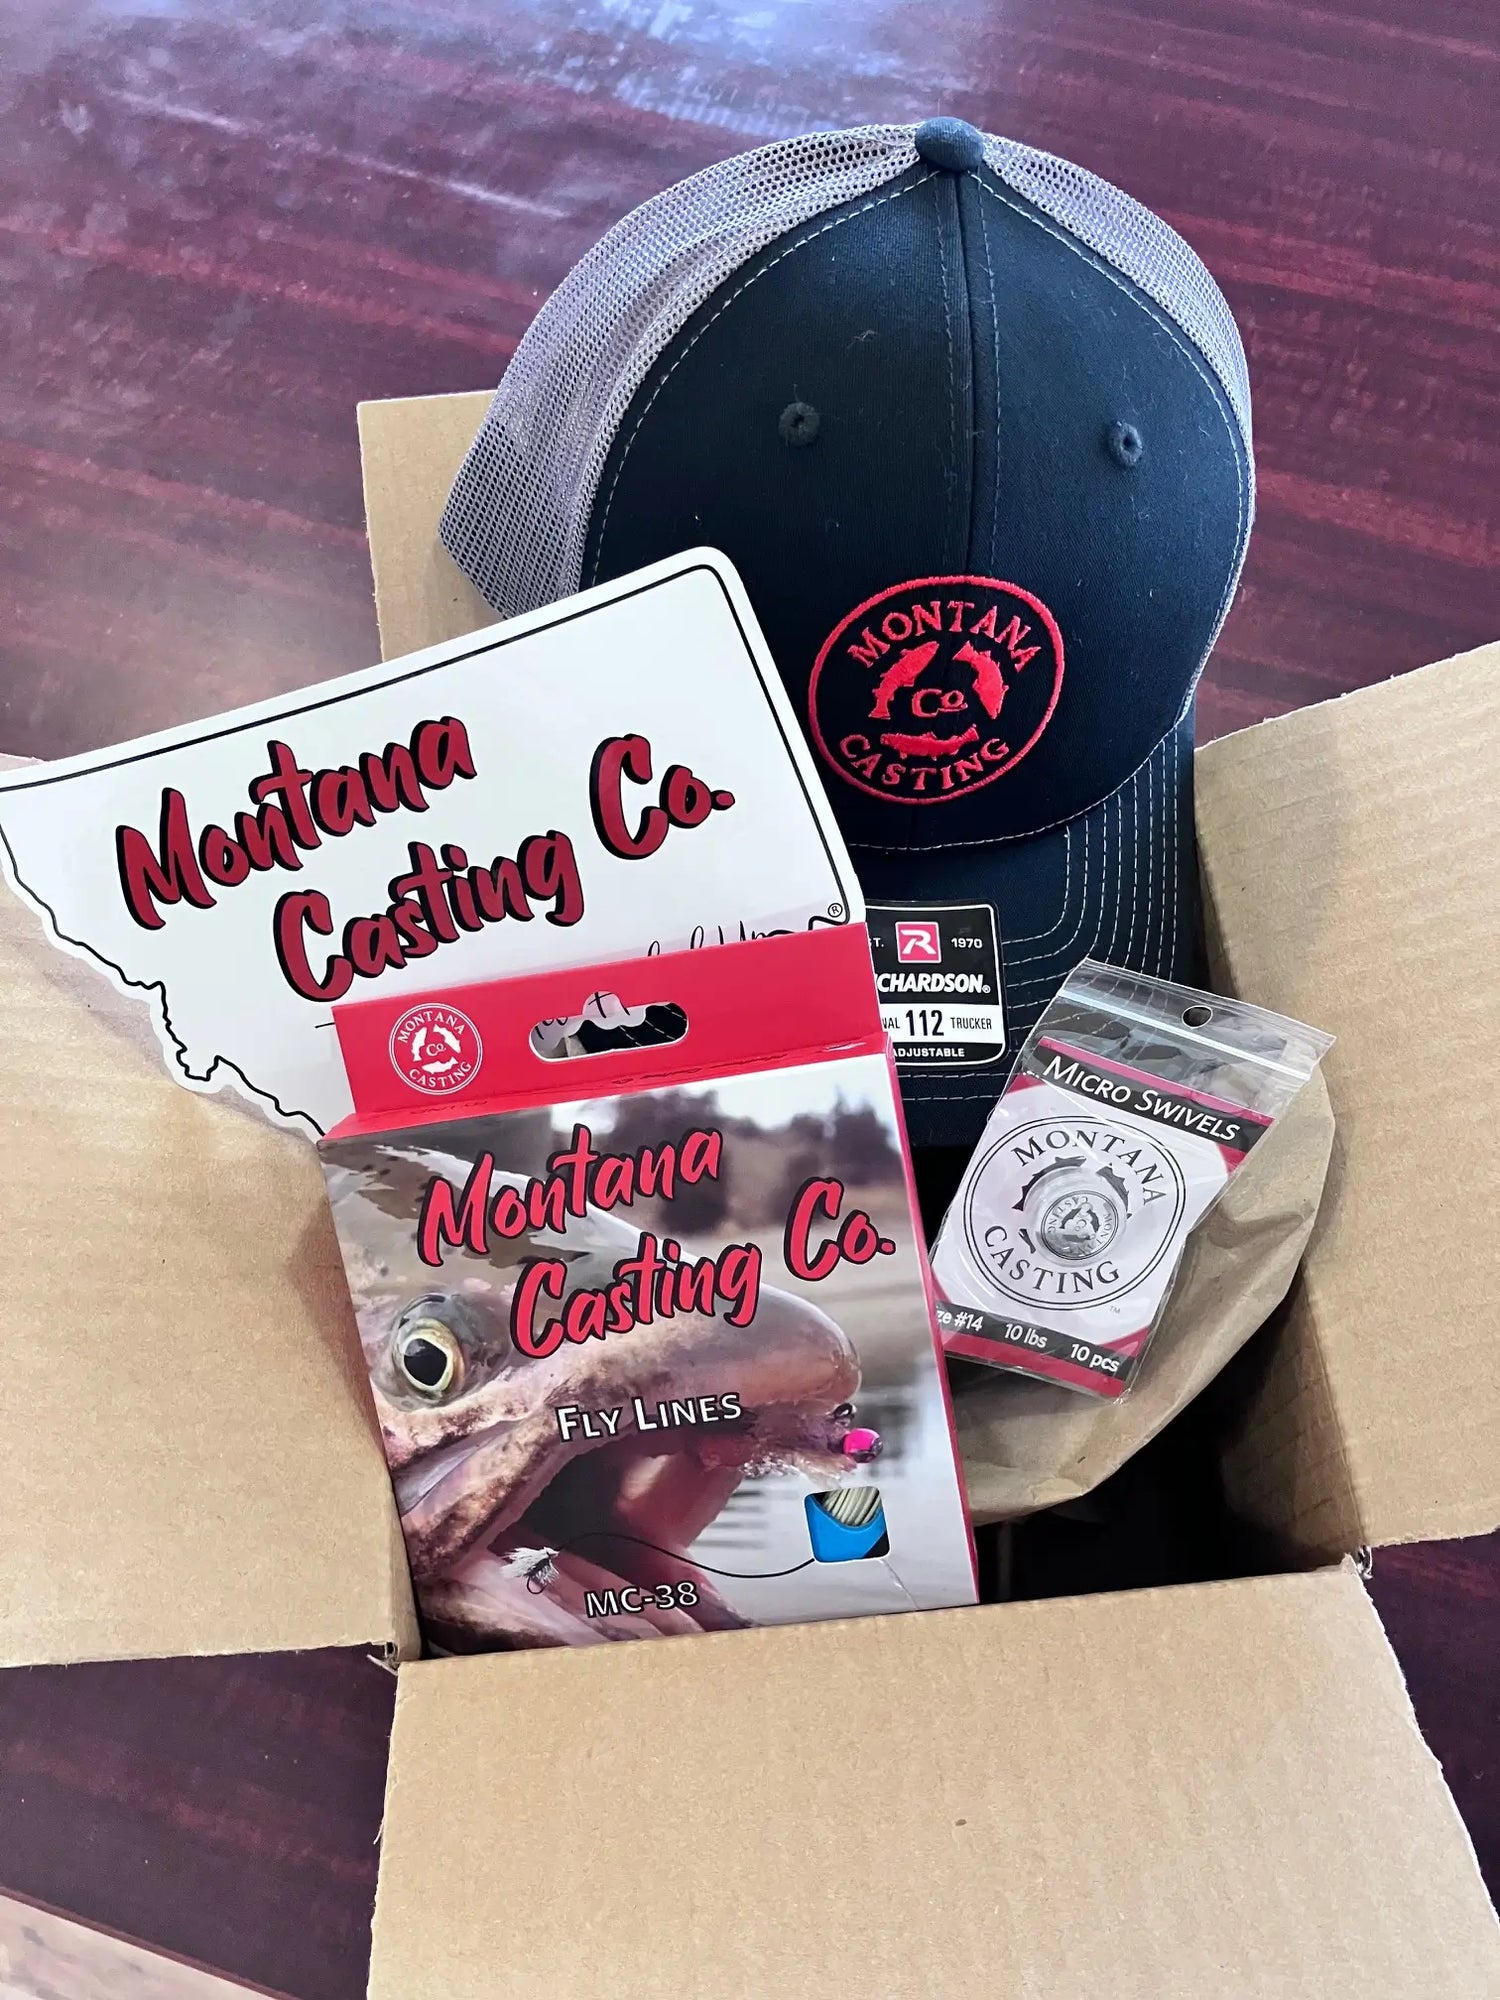
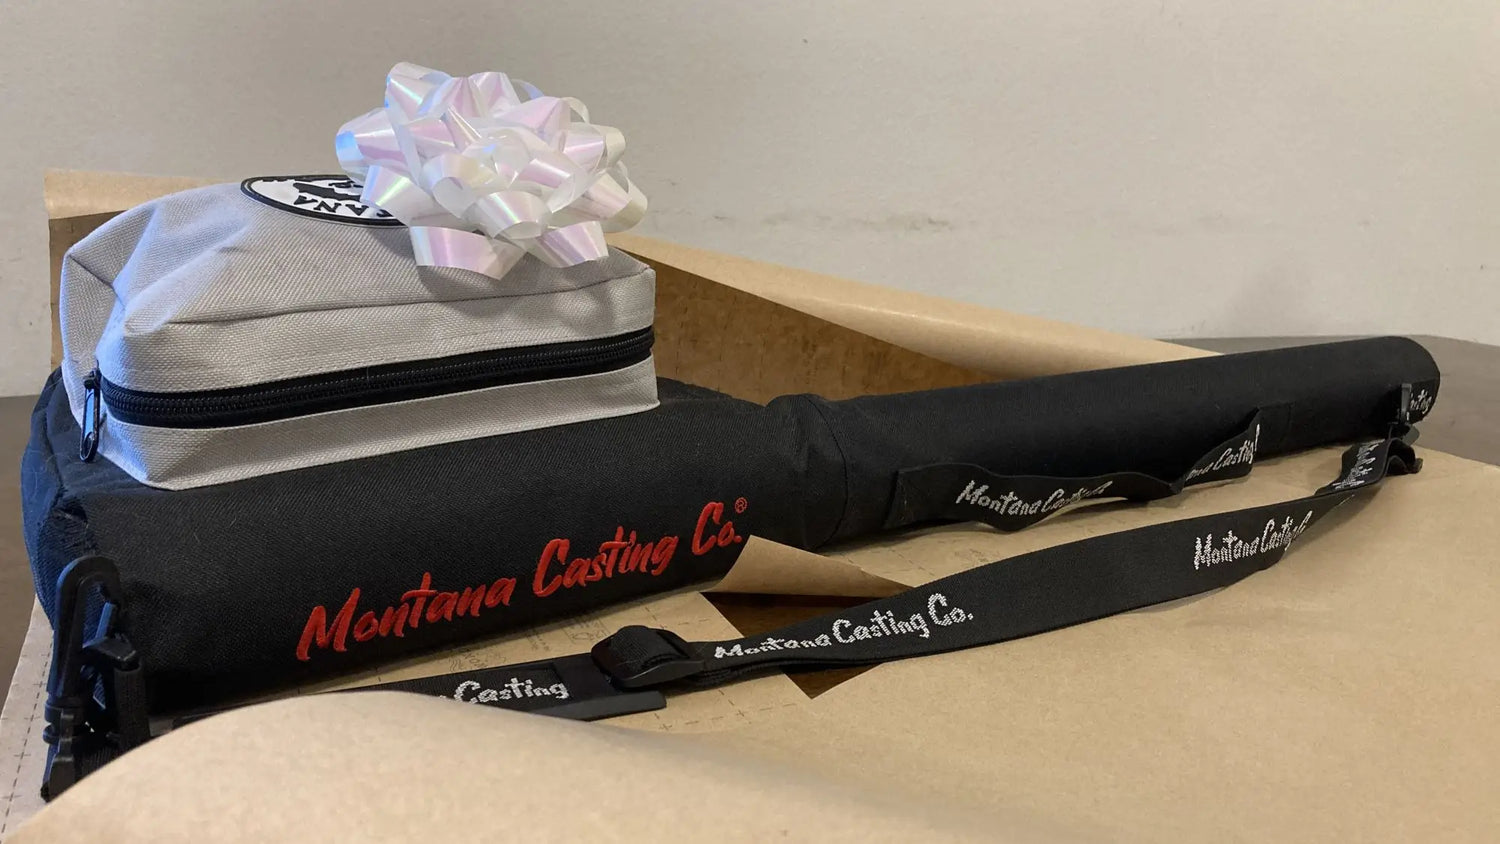
Behind the Scenes: How We Pack Orders
Have you ever wondered what happens when you place an order with Montana Casting Company? Well, let us take you behind the scenes! First things first, we do a happy...
Understanding Fly Reel Retrieve
By Scott Joyner What is "Retrieve"? In the fly fishing world, retrieve refers to the position of the reel handle in relation to your fly rod. “Left-hand retrieve” means the...

Fly Fishing Knots: How to Tie a Davy Knot
Why Use a Davy Knot? The Davy Knot gets its name from Davy Wotton, a famous British fly fisherman, who brought this small knot to prominence back in the 1950s....
Fishing Regulations "Protect the Resource"
Grab Your Fly Rod… And a Copy of Your State’s Fishing Regulations. You’re heading out the door, fly rod in hand. Your fishing vest is fully stocked with everything you...
2-Piece and 4-Piece Fly Rods: Which is Best?
A quick Google search of 2- versus 4-piece fly rods summons a laundry list of fly fishing forums where individual fly fishermen shout their opinions into the void. There aren’t...
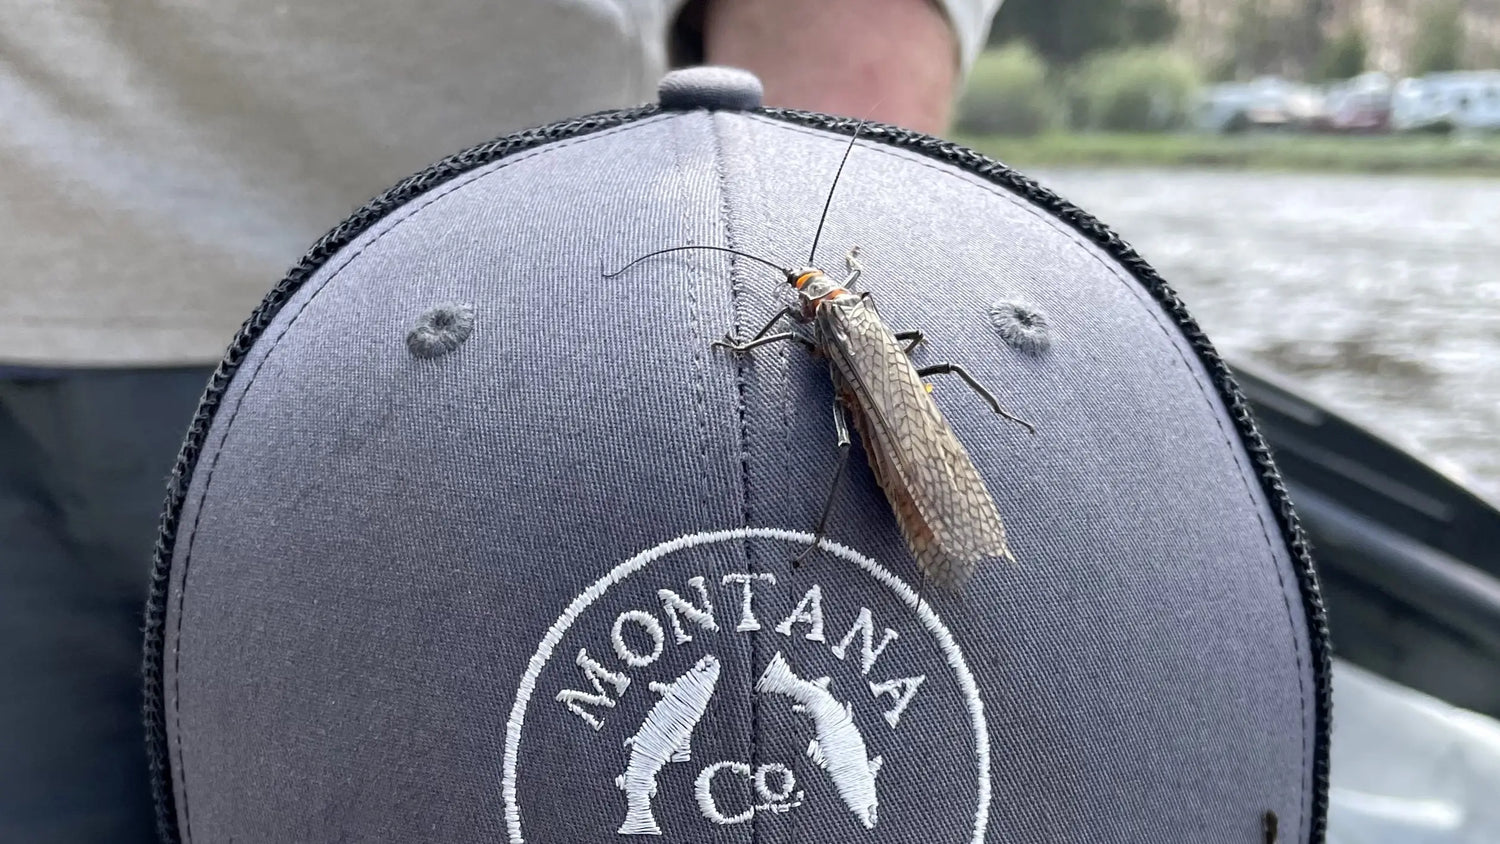
Understanding Stoneflies
Believe it or not, spring fly fishing is right around the corner. We know, we know—grabbing your fly rod and hitting the river might seem like a grim prospect to...
2024: A Year of Fly Fishing (and selling fly rods) in Review
A Letter from the Montana Casting Co. Team Hey there, folks. From the beginning, Montana Casting Co. set out to bring you the most competitively priced, high-end fly rods and...
How (and why) to Use Our Fly Rod Outfit Builder
What is the Fly Rod Outfit Builder? The Montana Casting Co. Fly Rod Outfit Builder is our way of allowing you to build the fly rod-reel combo you’ve been daydreaming...
The Pitfalls of 10 & 2
Learning to fly fish through trial and error... By Laryssa Rote “Ten and two,” I muttered to myself, whipping the fly rod back and forth. Unlike all those Youtubers though,...
Fly Fishing 101: Safety On and Off the River
Fly rod in hand. A light breeze twisting through the willows. Sunlight sparking off lazy river bends and time-smoothed stones. Part of the allure of fly fishing is losing oneself...
Fly Fishing 101: Catching the Fall BWO Hatch
Fly Fishing the Blue-Winged Olive Hatch: The term “Blue-Winged Olive” (or BWO) refers to a ubiquitous group of small mayflies, rather famous for two important hatching periods that bookend the summer...
Our Kit Series: Fall Streamer Fishing
Fly Fishing for Big Fish Fall streamer fishing: possibly the three best words of the year. They’re the words that summon visions of wide-open rivers, morning fog, and massive browns...
Scott Joyner and the Art of Fly Fishing
We get a lot of questions about who we are. What is Montana Casting Co.? Where did we come from? While we encourage you to connect with the roots of...
Fly Fishing 101: How (and Why) to Use a Seine Net
The Patterns of Fly Fishing As fly fishermen, we’re constantly tuning into the patterns of nature. We watch the surface of the water for rising fish. We use the pattern...
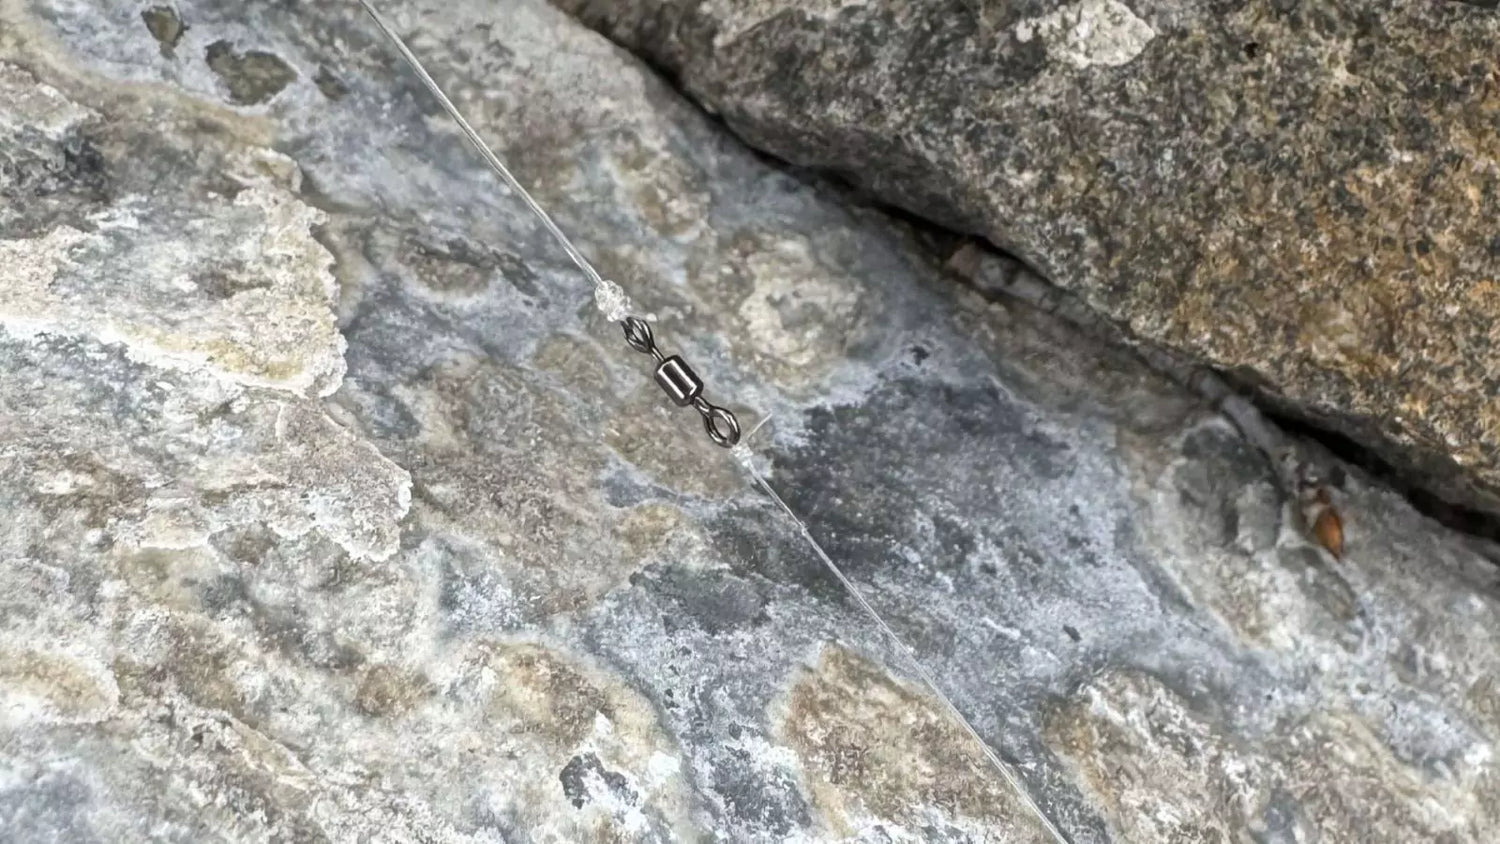
Fluoro vs. Monofilament: The Mono to Fluoro System
Is fluorocarbon better than monofilament? Fluorocarbon (fluoro) leaders and tippet rose to prominence in the 1980s for their near invisibility and abrasion-resistant properties—a clear advantage in rougher waters or when...
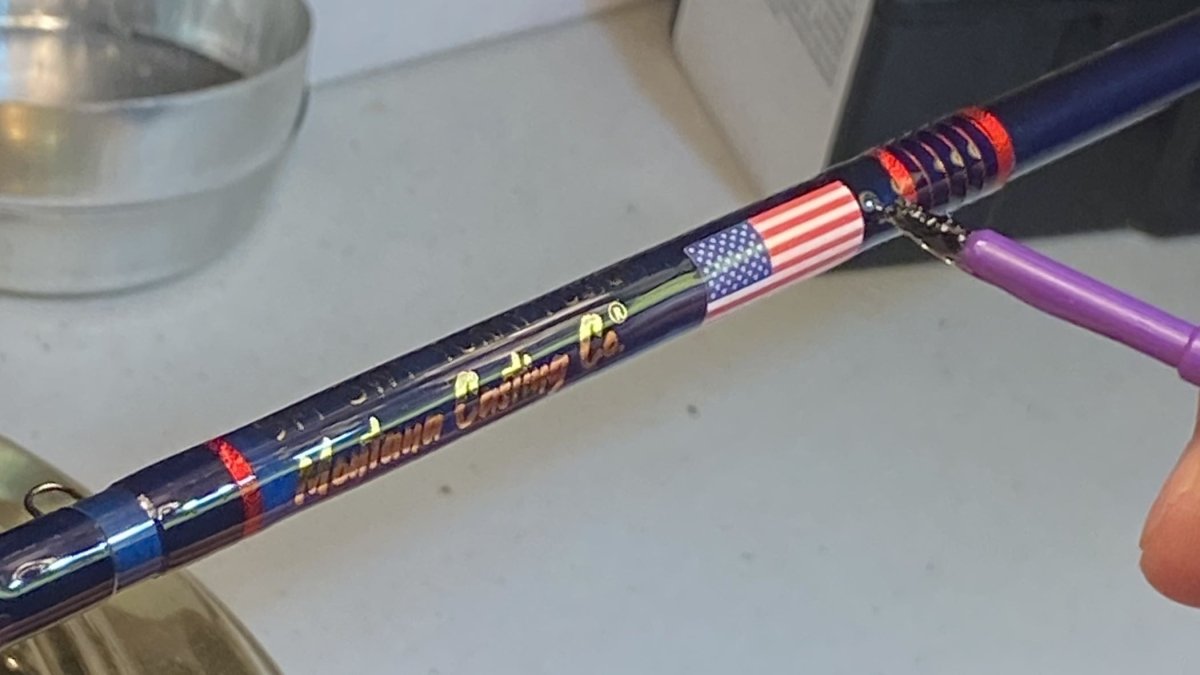
Building Custom Fly Rods: Finishing Your Rod
You’ve planned out your dream custom rod, chosen your materials, found the spine on all your blanks, made your measurements, and fitted the reel seat and grip… You’re well on...

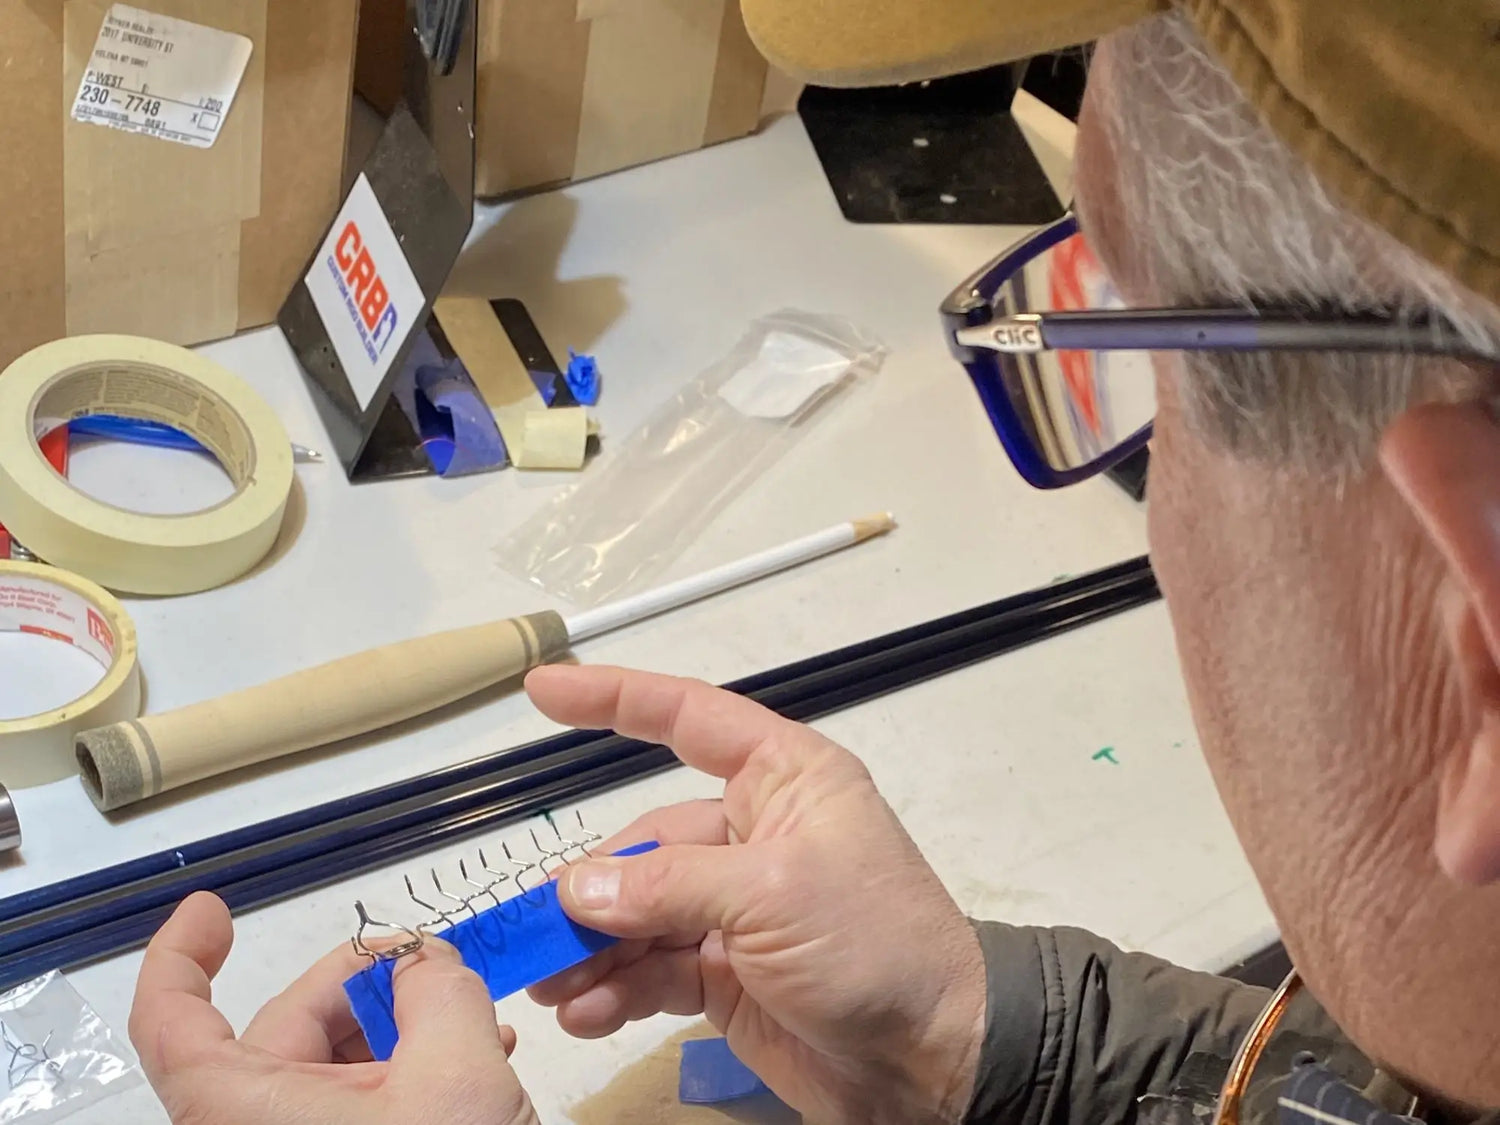
Building Custom Fly Rods: Assembly
In our previous blog on building custom rods, Scott Joyner walked through the various components you’ll need to get started. Now, it’s time to get hands on and start putting all the...
Building Custom Fly Rods: Picking Your Components
We recently talked with Montana Casting Co.'s rod builder Scott Joyner about his experience building custom fly rods, and here is what he had to say: Building custom rods has...
Fly Fishing 101: River Etiquette
Respecting Your Fellow Fly Fishermen Thirty percent of Montana’s considerable landmass falls under the label of “public land”. This includes millions of acres of National Forest, National Park, BLM, and...
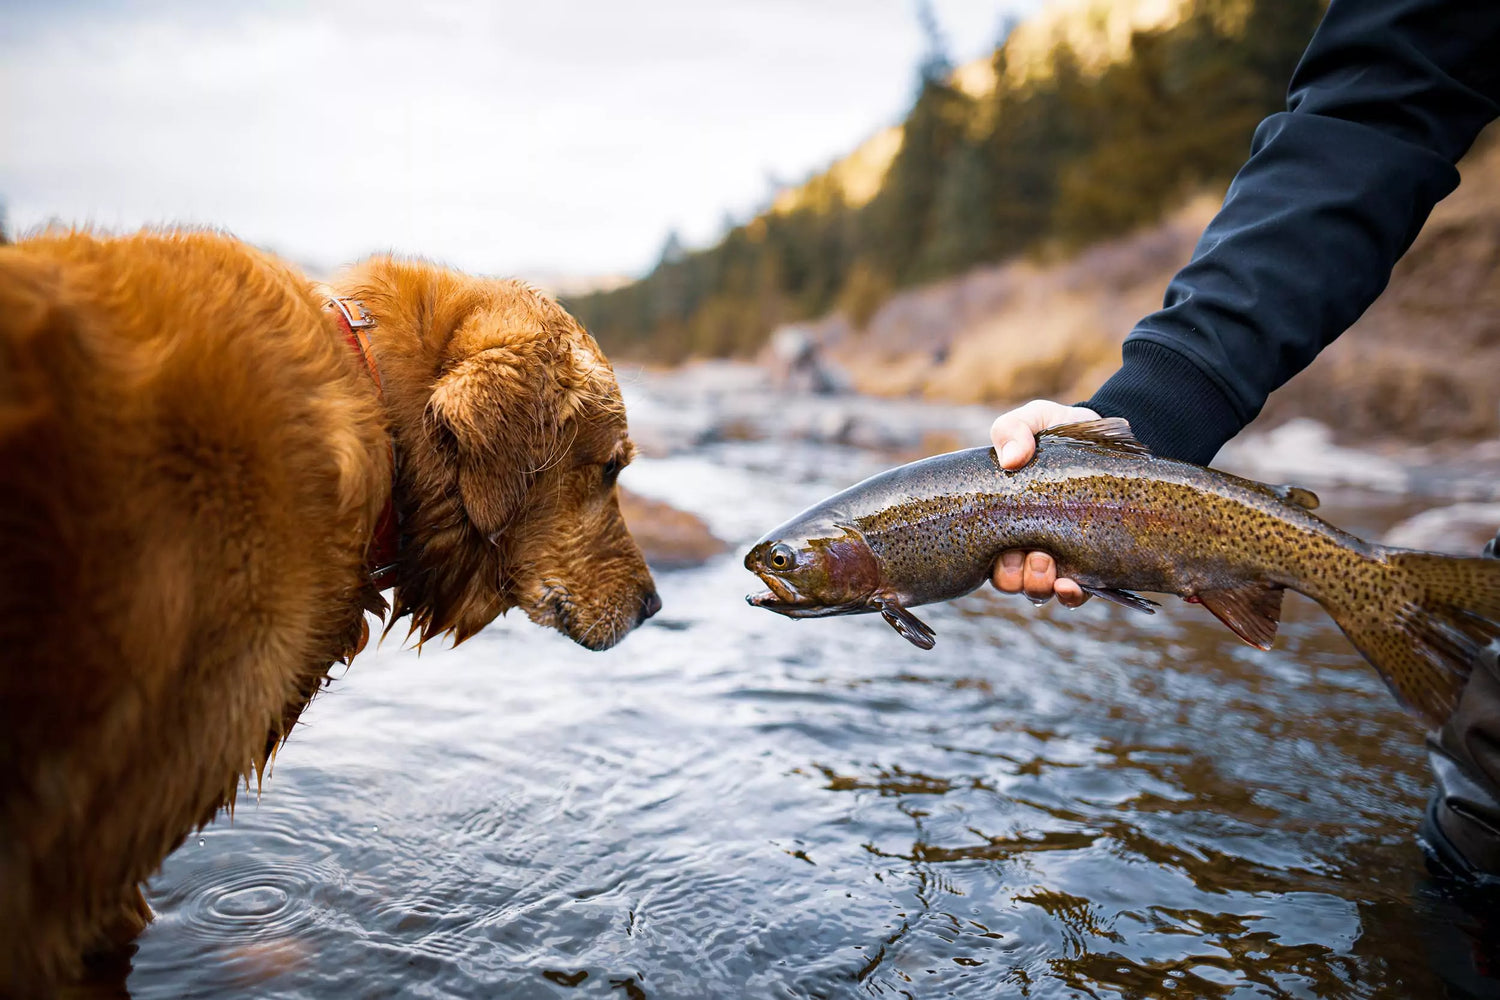
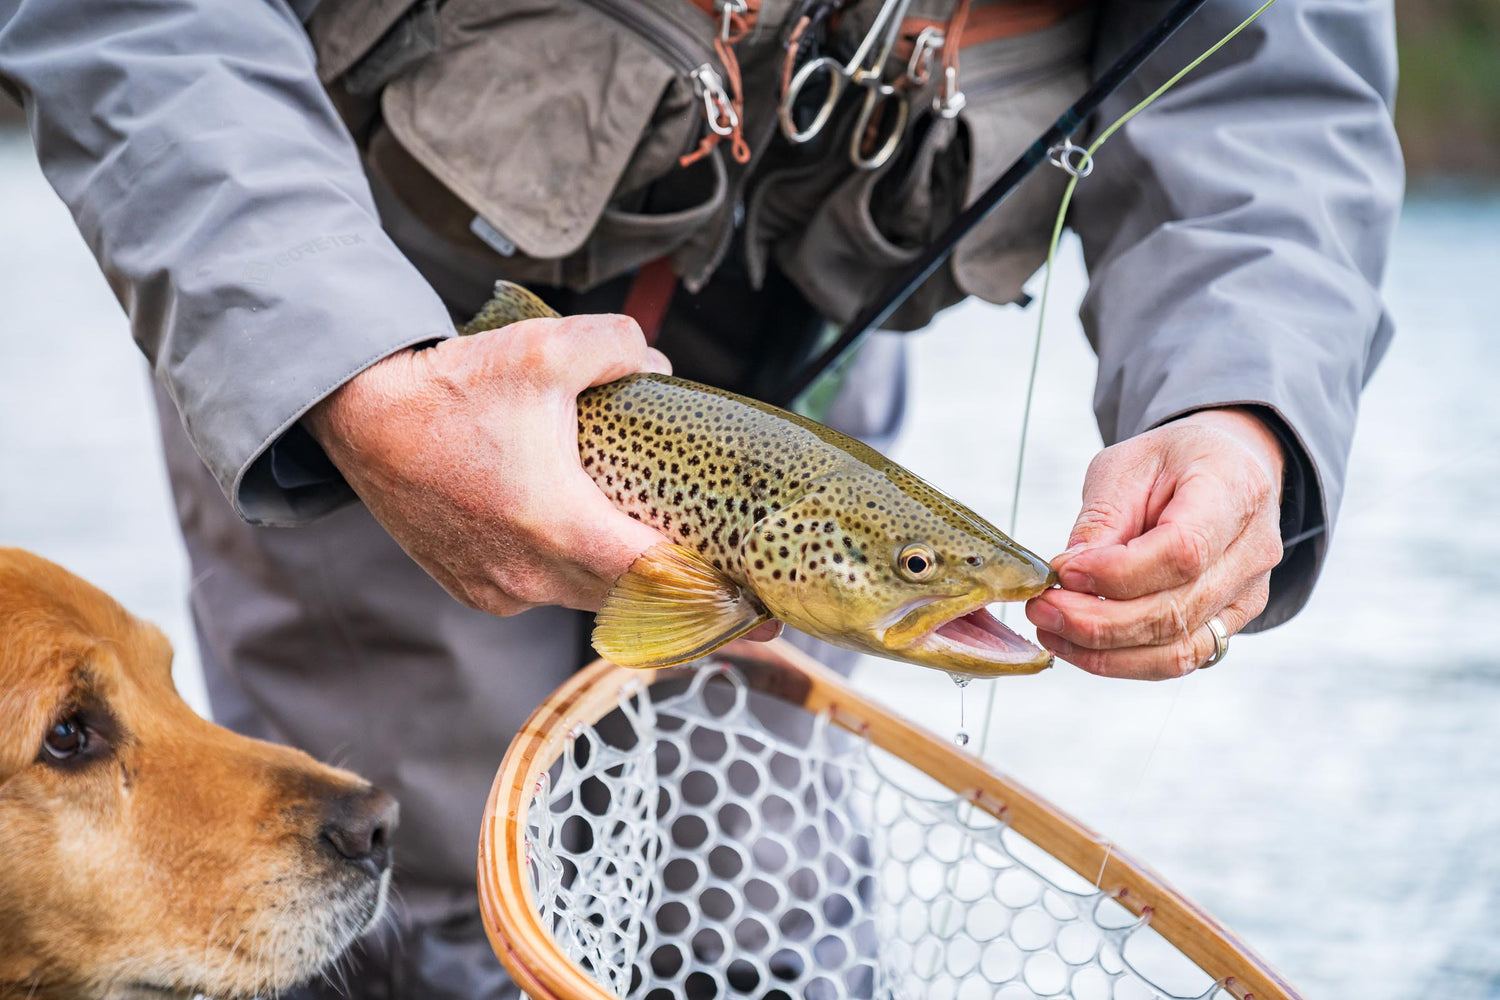
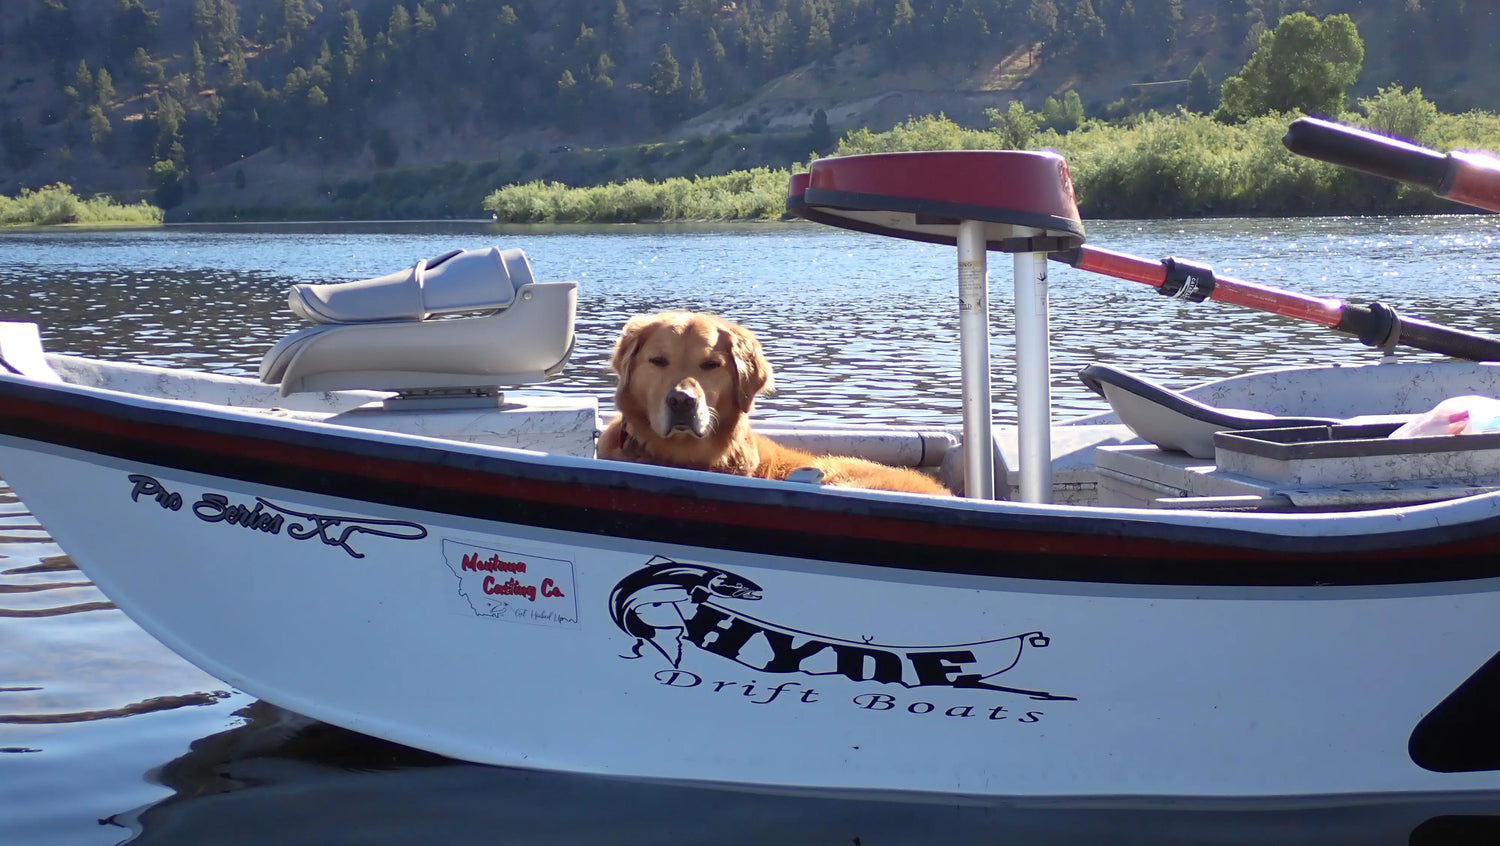
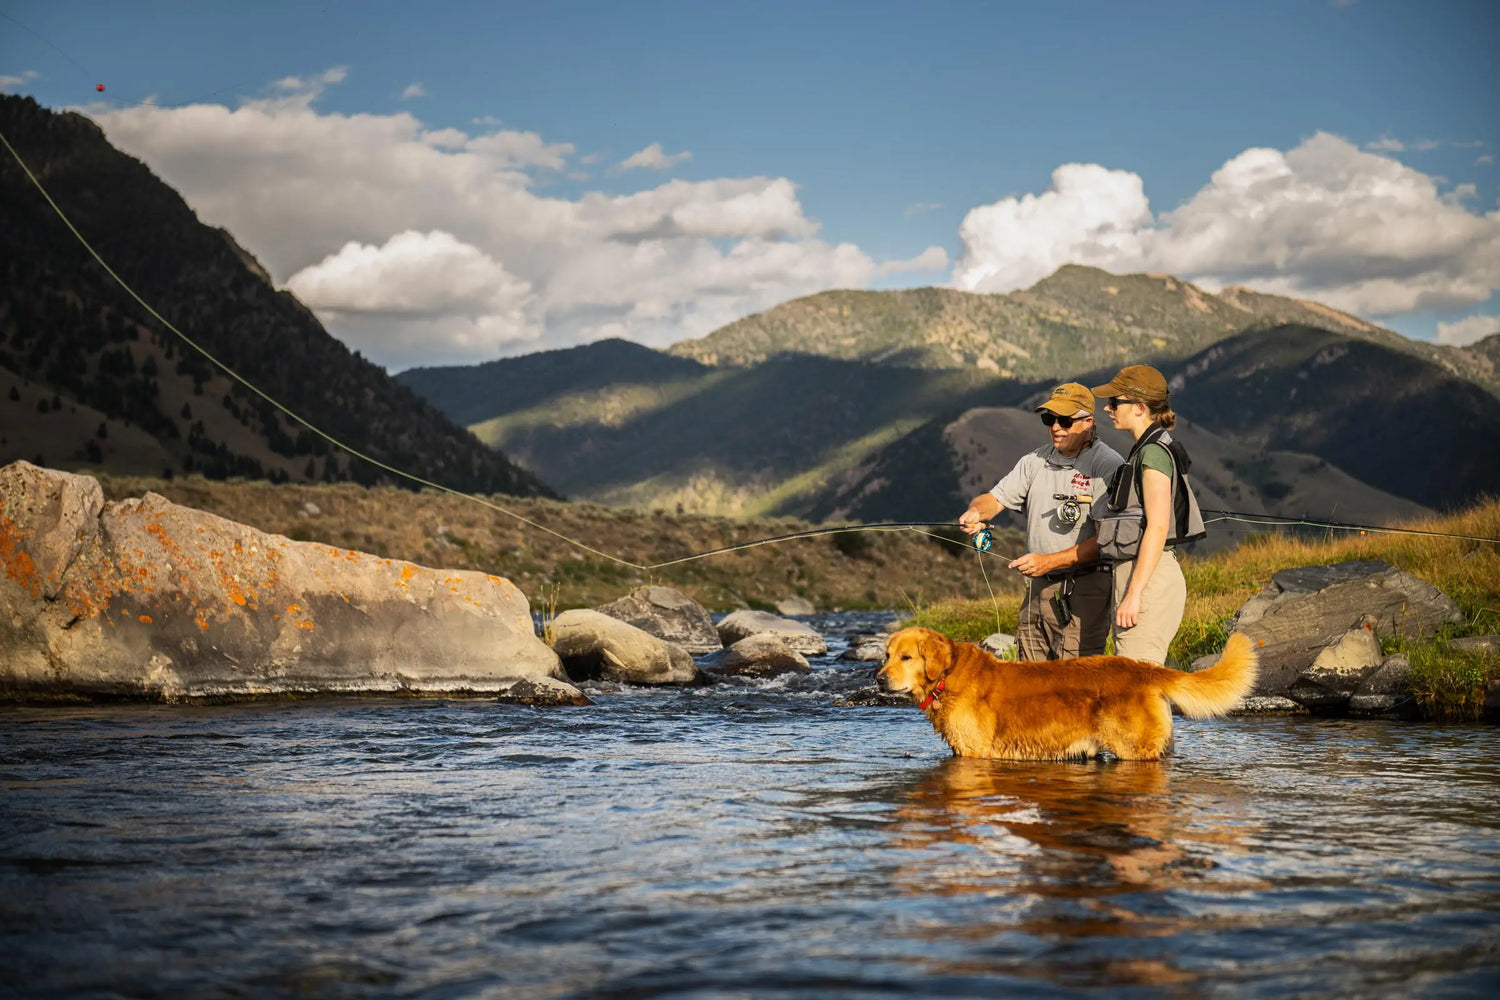
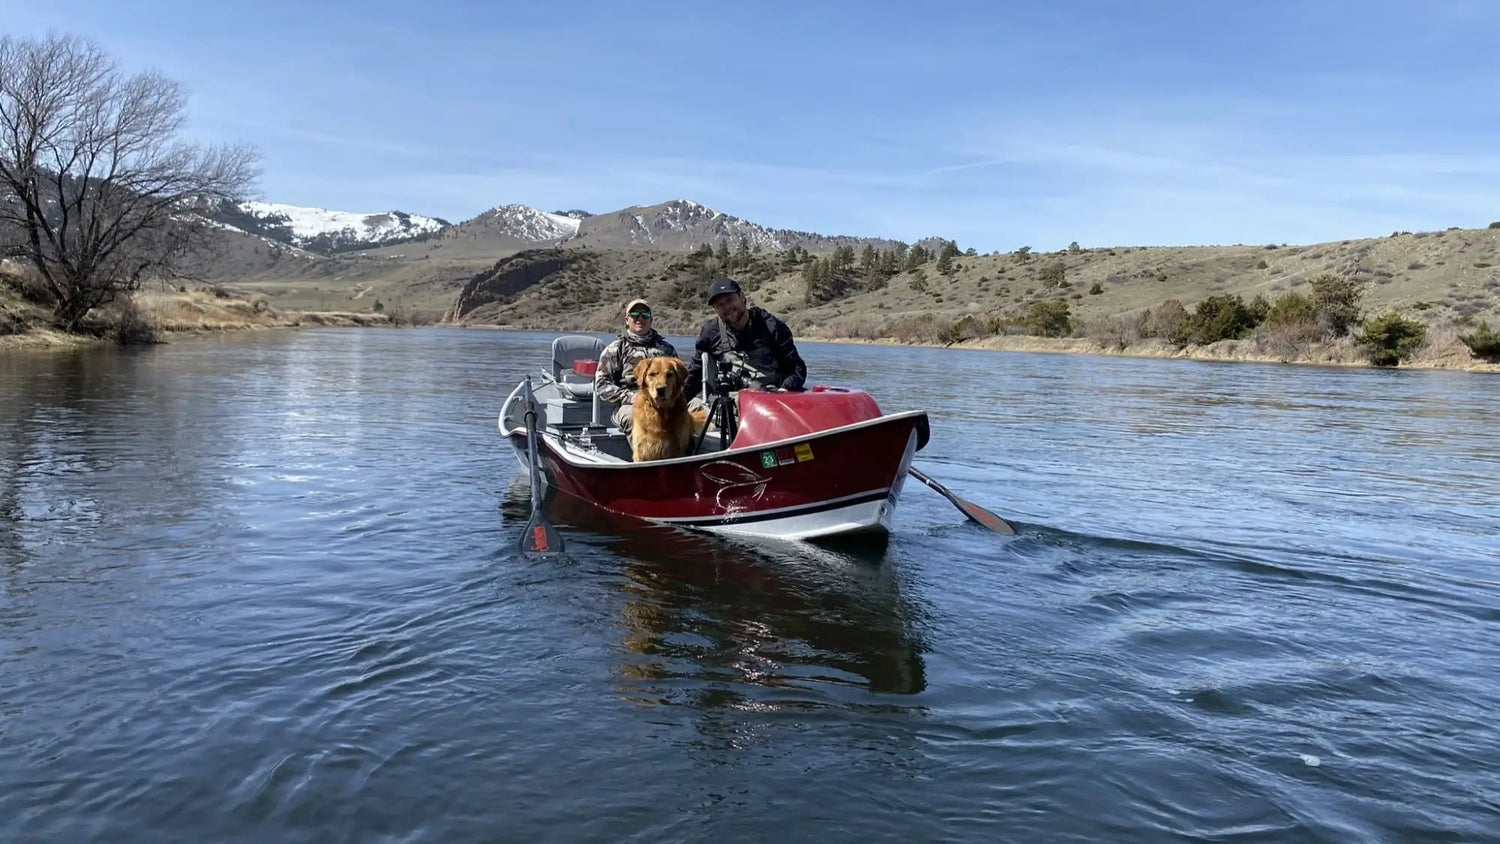
Lessons From a Fish Dog
A day of fly fishing in the mountains... Lincoln, our eighty-five-pound golden retriever and official Montana Casting Co. Gear Durability Tester, learned long ago the meaning of an engine growling to...

Fly Fishing Knots: How to Tie a Perfection Loop
Why use a perfection loop? A classic fly fishing knot, the perfection loop has numerous applications on the water. Most commonly you’ll use it to connect backing to your fly...
Fly Fishing Knots: How to Tie a Nail Knot
What’s a nail knot and when is it used? Many modern fly lines are designed with welded loops, allowing for leader to be attached quickly loop-to-loop. Prior to the invention...
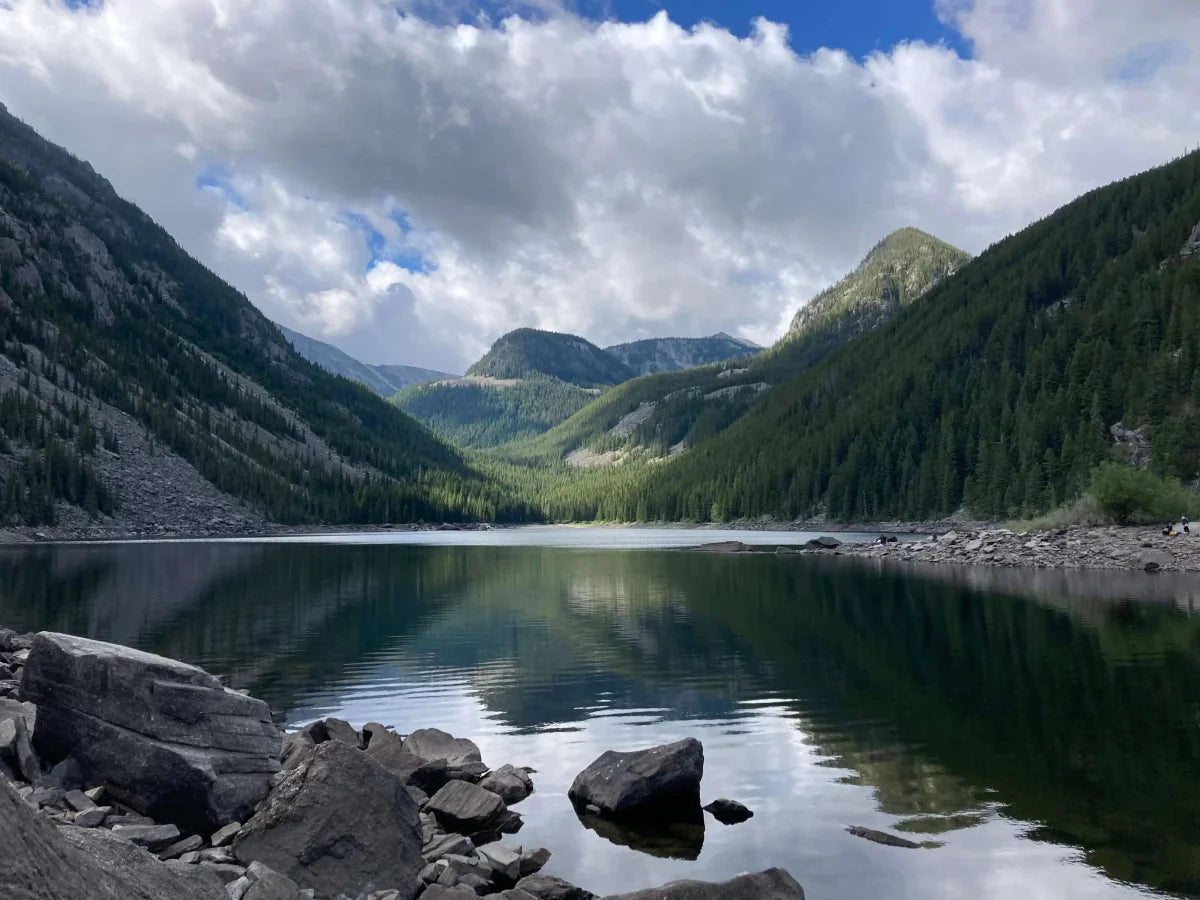
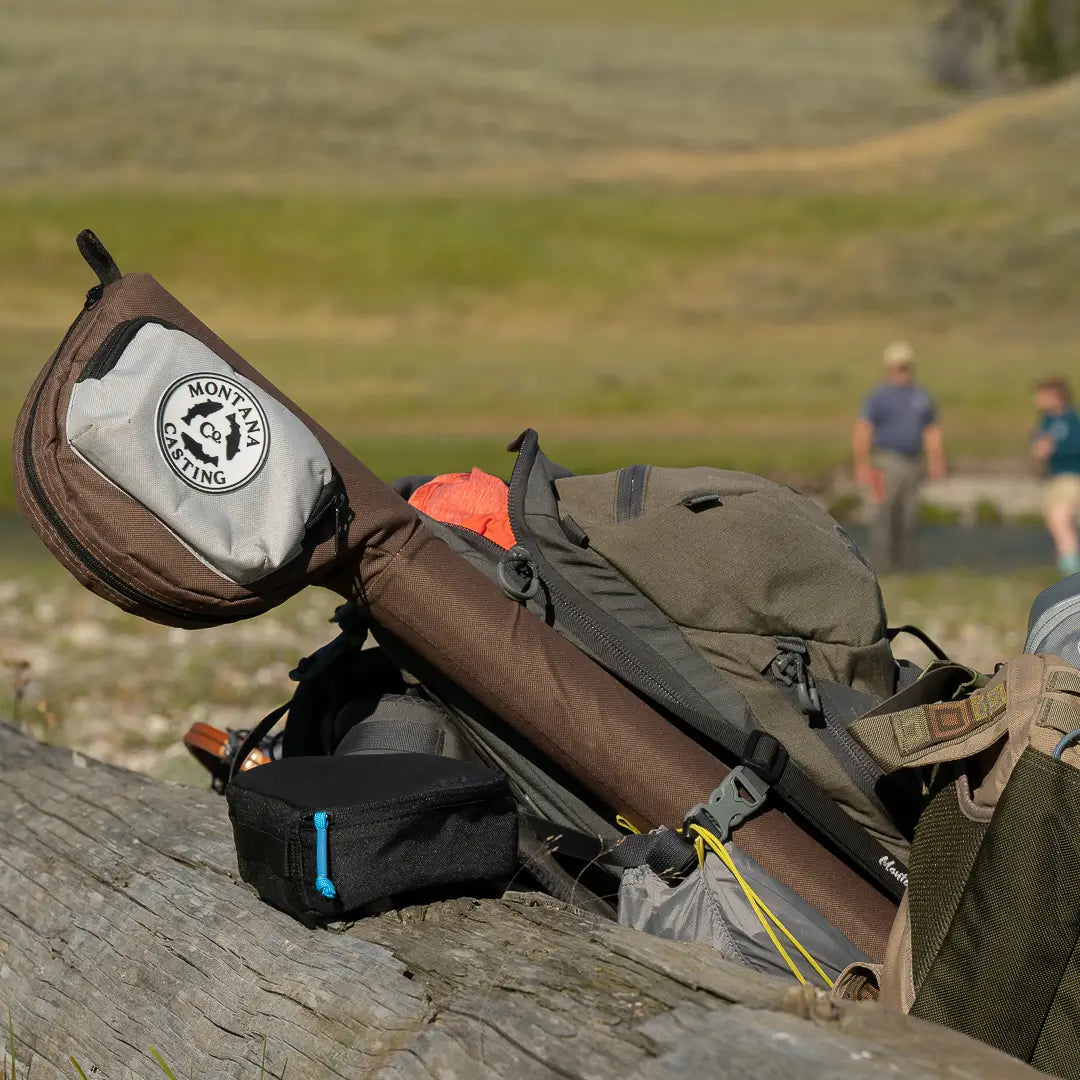
Our Kit Series: Fly Fishing Mountain Lakes
Fly Fishing Adventure in the High Country Nothing says summer like hiking to a high mountain lake with your fly rod strapped to your backpack! From day hikes to backpacking...
Fly Fishing Knots: Surgeon's Loops and Knots
NOTE: If you're looking for the "Our Kit Series" blog, please click here: Fly Fishing Mountain Lakes. Otherwise, read on to learn about the two different Surgeon's knots: Surgeon’s Loop and...
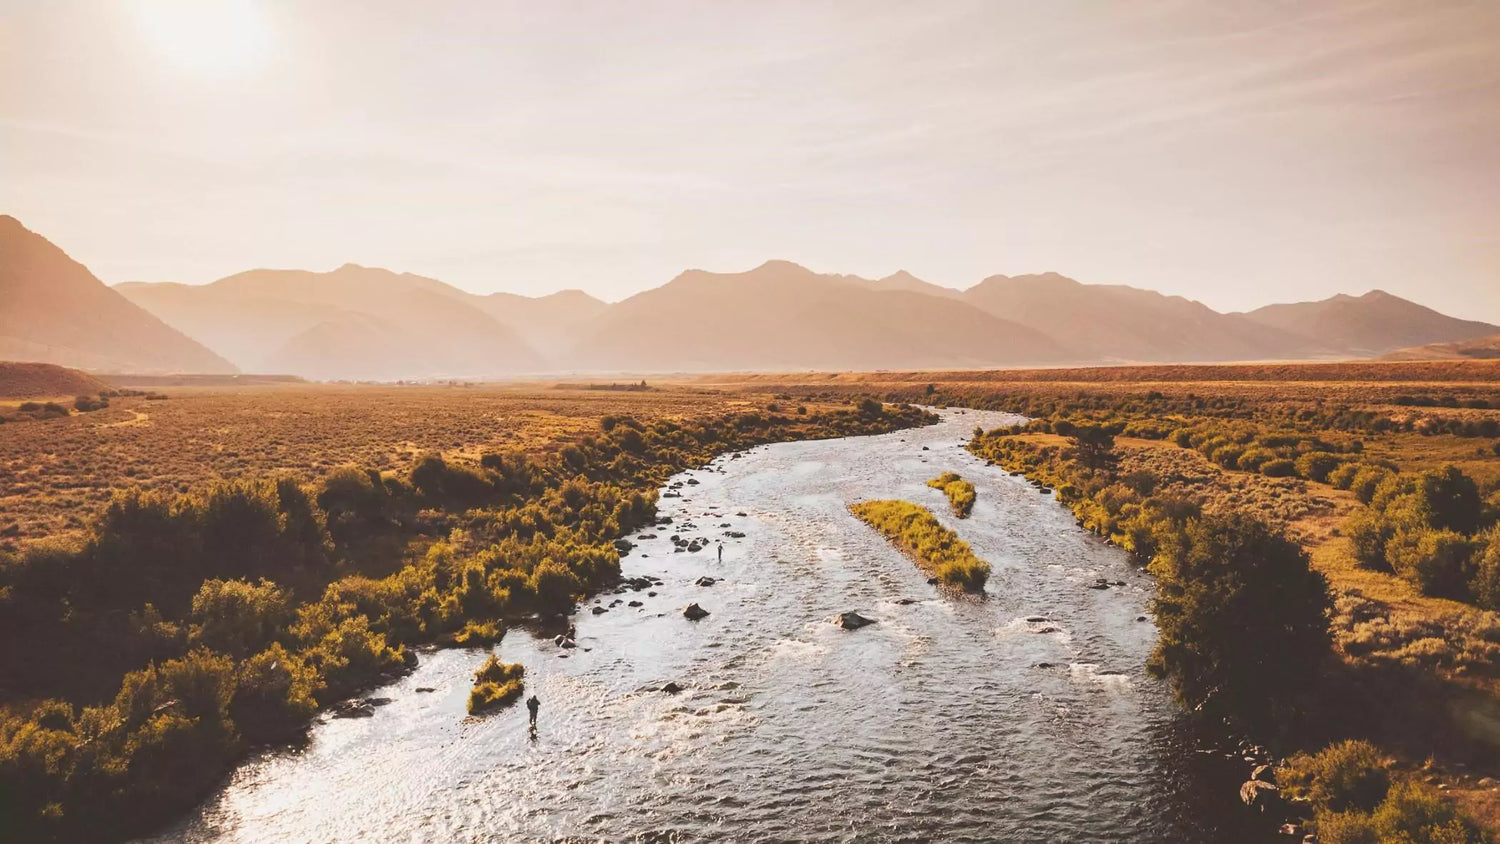
Our Kit Series: Fly Fishing the Upper Madison
The Madison River begins at the confluence of the Gibbon and Firehole Rivers in Yellowstone and flows through approximately 183 miles of mountain-framed vistas before arriving at Three Forks—a meeting...
Caring for Your Fly Fishing Rod
Caring for your Fly Rod If you’re new to fly fishing, there’s a lot to learn: casting, knots, reading the water, setting the hook… But caring for your new equipment...

Our Kit Series: Montana's Upper Missouri River
Fly Fishing in Four Seasons The Missouri is open to fishing year-round in Montana, so you have four very distinct seasons to enjoy. We tend to frequent the section of...
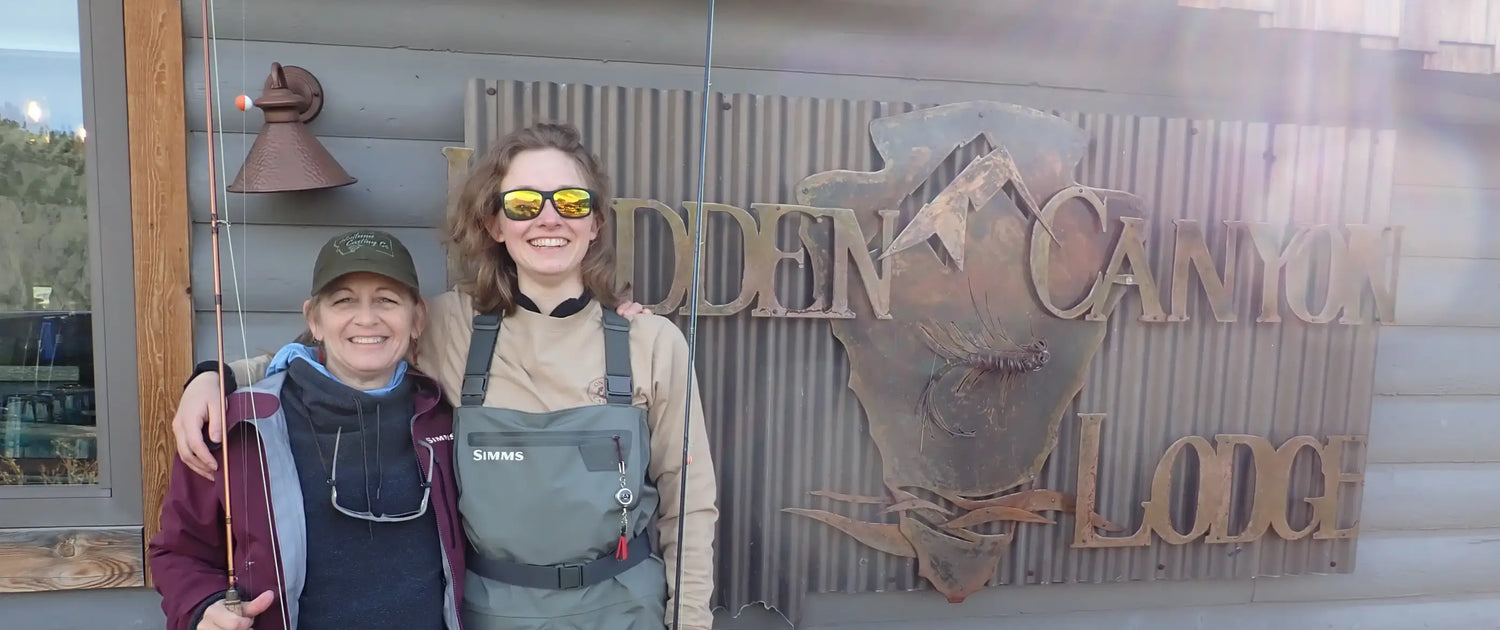
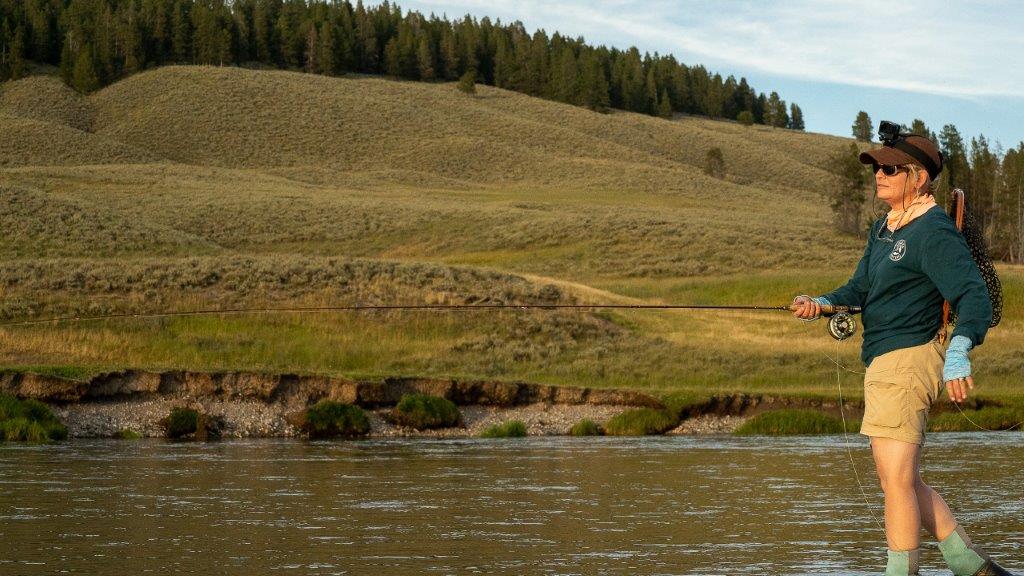
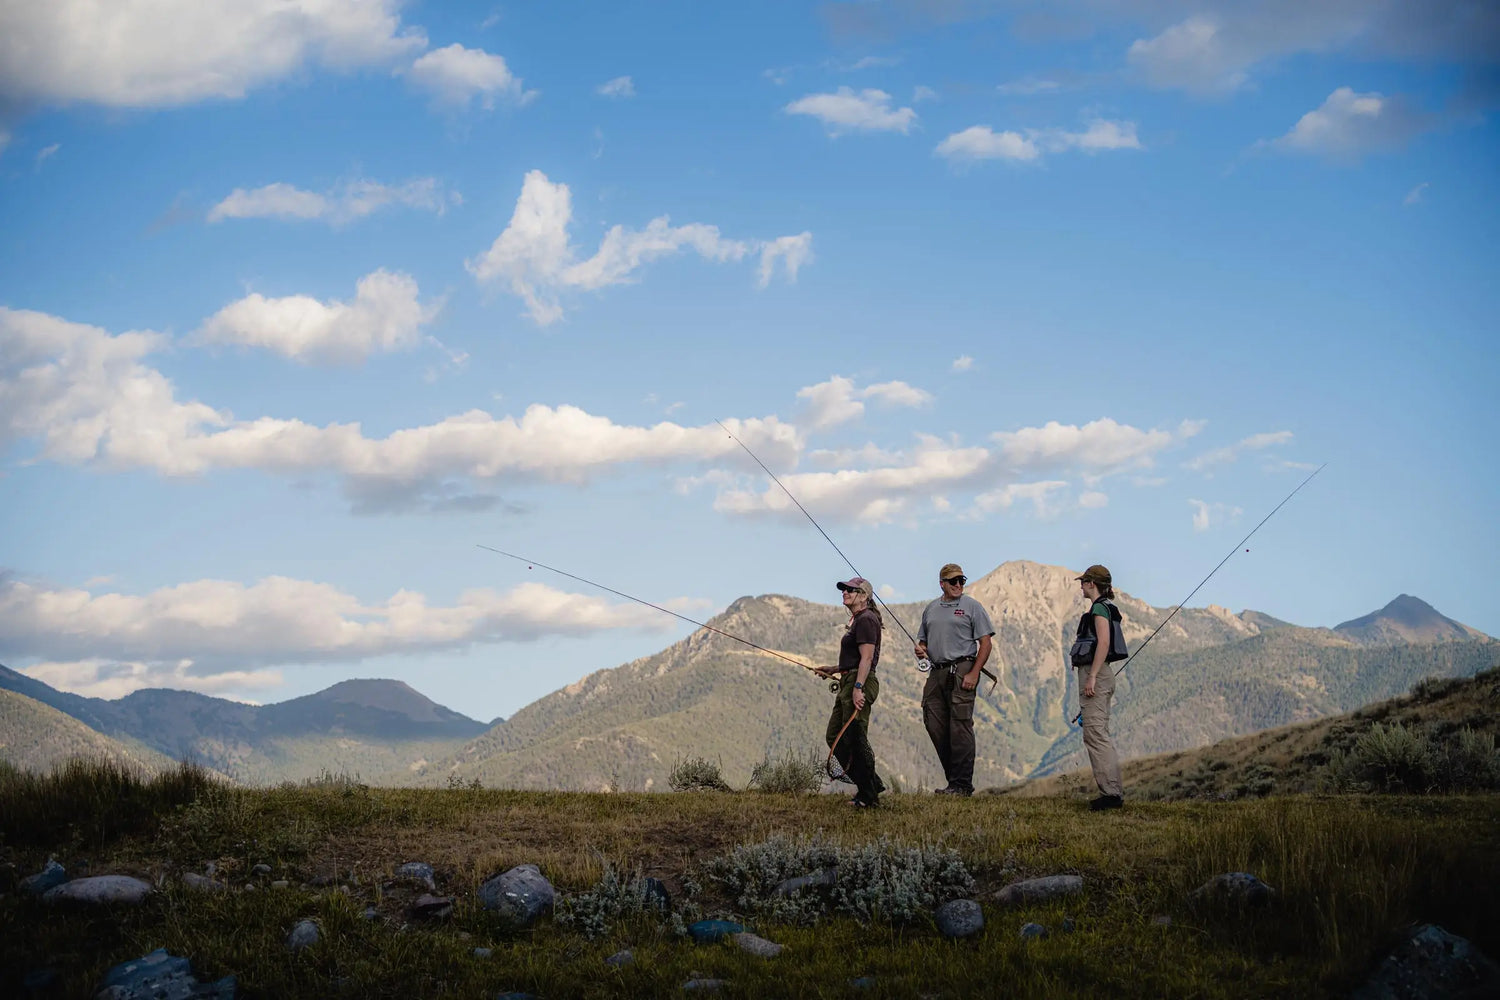
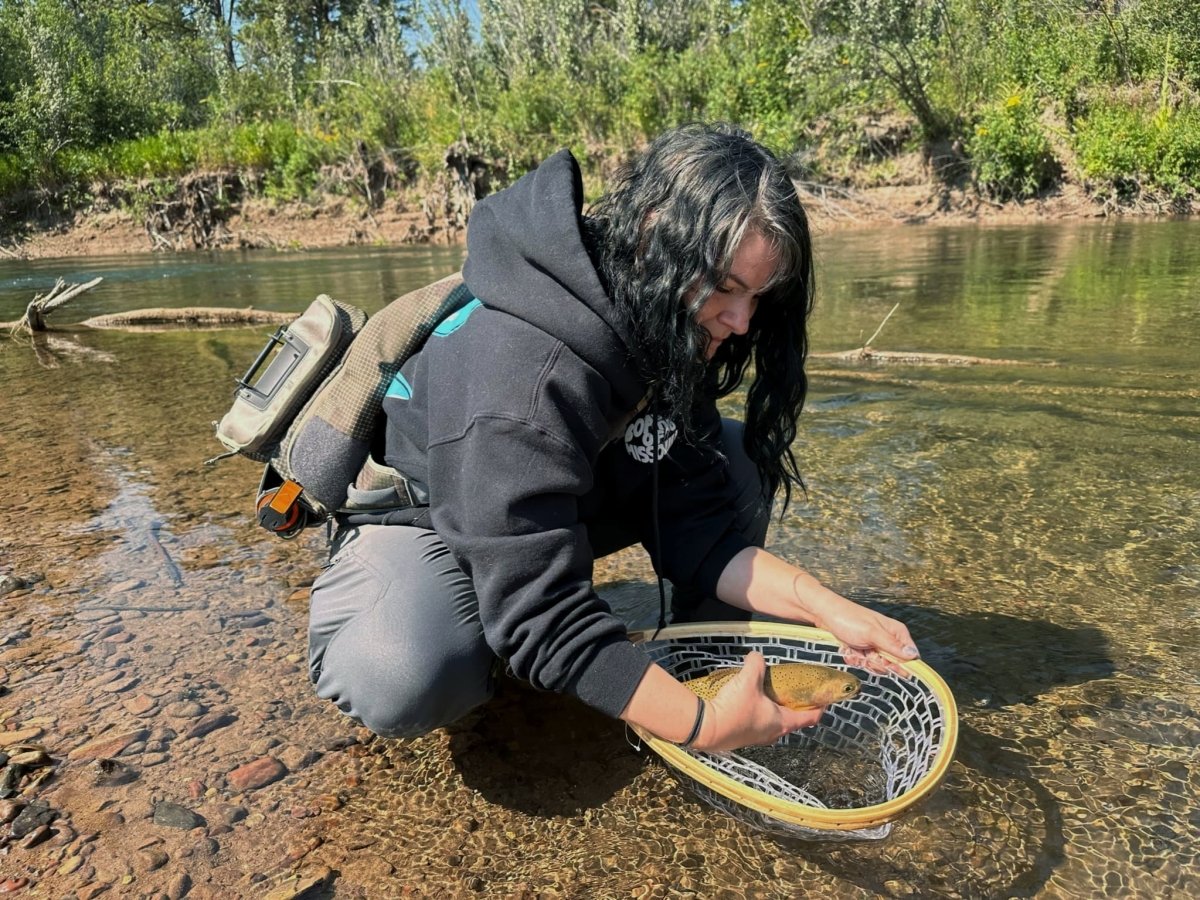
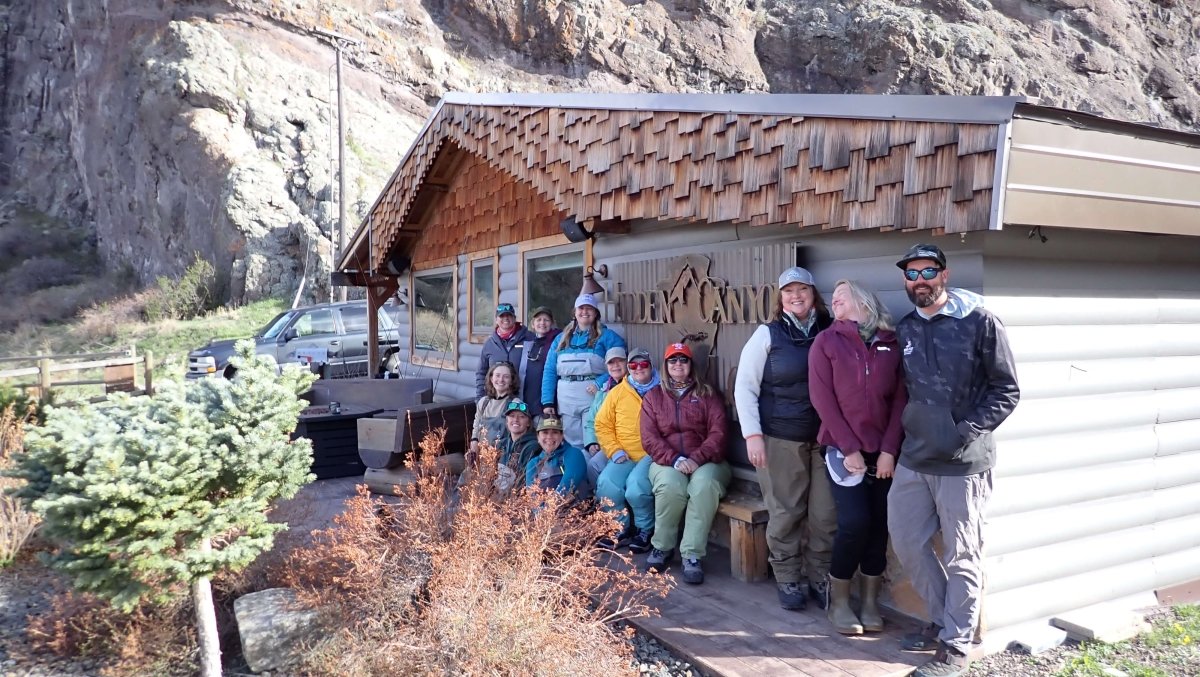
Fly Fishing Among Women Part 3
Note: This is the third in a three-part series on a women's fly fishing clinic that took place in April of 2024 on the Upper Missouri River. Need to catch...
Fly Fishing Among Women Part 2
Note: This is the second in a three-part series on a women's fly fishing clinic that took place in April of 2024 on the Upper Missouri River. Need to catch...