You’ve planned out your dream custom rod, chosen your materials, found the spine on all your blanks, made your measurements, and fitted the reel seat and grip… You’re well on your way to having a completed rod in hand. In this final post on building custom rods, Montana Casting Co. CEO Scott Joyner talks finishing touches: guides, thread wraps, epoxy, and the unique flares that are the signature of a custom rod.
Adding Thread Wraps and Guides
This stage is where you get to start adding more of those visual flairs that will make your custom rod look like a custom rod.
There are many commercial rod-wrapping machines on the market. I have electric rod wraps and good old-fashioned wrapping jigs; they all work very well. I prefer using an old wooden jig with felt on the rod supports, though that’s likely a product of having done this for so long—it’s simply what I’m used to.

You can also easily make a homemade jig using a shoe box. Cut a “V” shape on both ends for the rod to rest in, poke a hole in the side of the box, and run your thread from the outside and into the box. Open a big book about halfway, put the thread spool in the center of the book, and close it; this will give tension to the thread. (Alternatively, if you tie flies, put your thread on a fly-tying bobbin and poke that through the hole in the box; this is perfect for holding the spool and keeping a constant tension on the thread.)
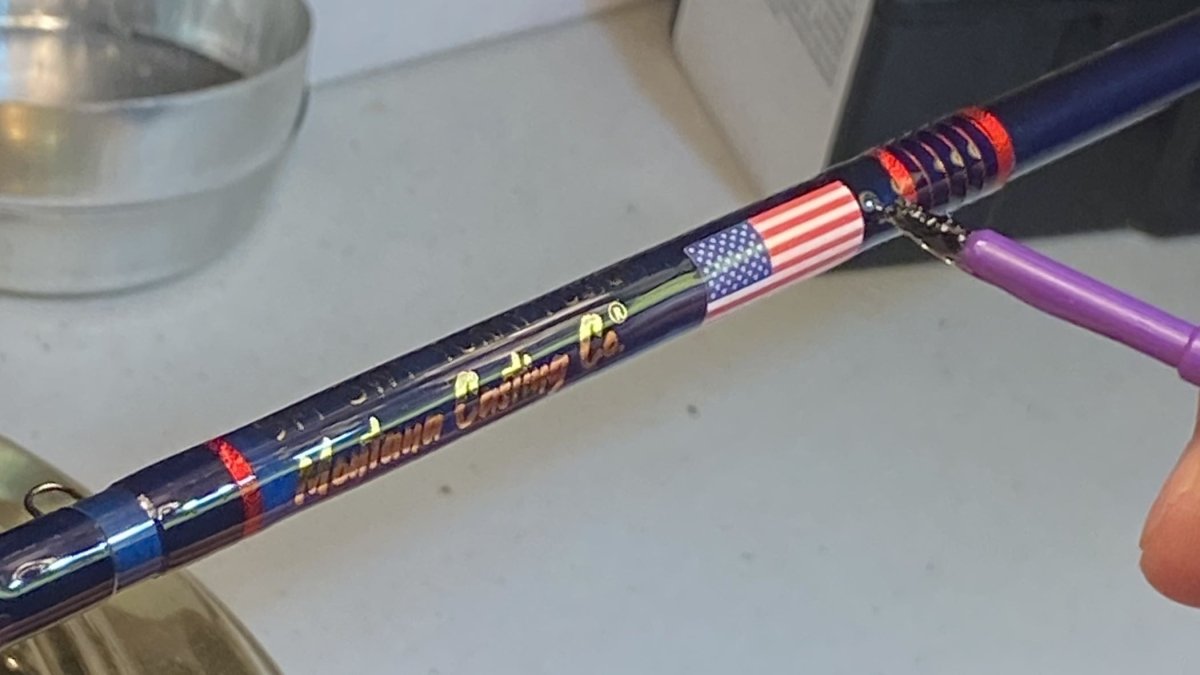
I like to use a thin piece of masking tape to tape one of the guide feet to the rod blank on your pre-made measurement marks. You’ll want to start by wrapping the thread around the rod a couple of times within a ¼ inch or so from the guide foot. Spin the rod slowly while wrapping thread over itself, working towards the foot of the guide. Once you get five or six wraps in place, you can slowly pull the tag end of the thread to tighten the wraps as you spin more onto the rod. (You can trim the tag end off when you’re satisfied with the look and tension of the thread.)
When you’ve added enough wraps to reach the guide foot, use a space piece of thread to make a loop. Lay this loop next to the guide foot with the loop end pointing towards the body of the guide; this will be used to pull the finished end of the thread back through under the wraps.
Once you’ve wrapped the thread up to the base of the guide, cut the line, leaving a few inches. Run the tag end through the loop you wrapped into place and give the tag ends of the loop a pull, snapping the tag end of the wrapping thread tightly under the wraps. You can give the tag end a little pull for tension purposes before trimming it off.

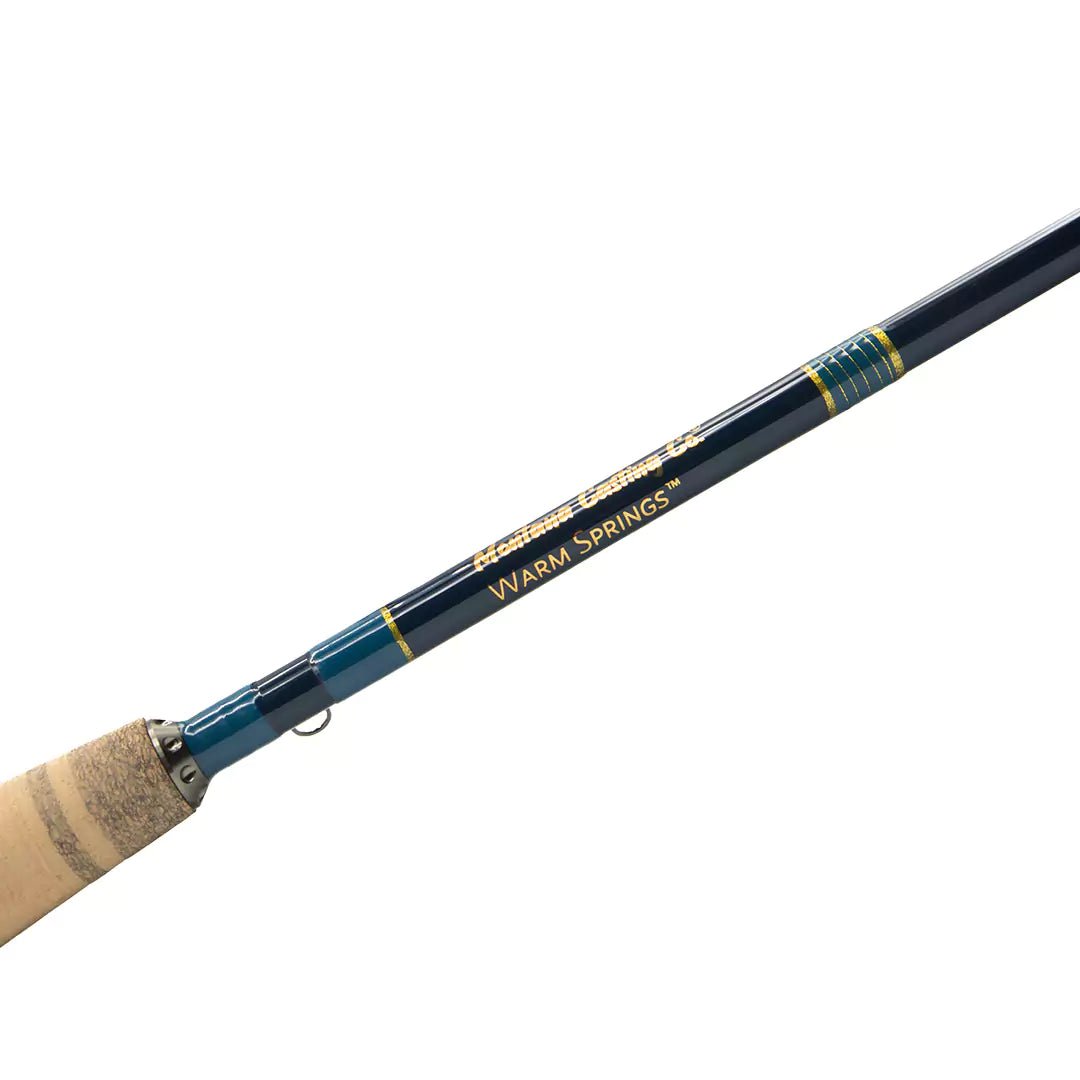
Repeat this process for each guide, the tip-top, female ends of ferules, and the signature area of the rod above the grip. Make sure you’re regularly looking down your fly rod to check the placement of the guides as you go. Your spine markings, tip-top, guides, and the reel seat should all be in alignment.
When you’re finished, wipe off the grease pencil measurement marks and double-check your alignment of the guides; you can eyeball this or use a laser. If using a laser, place the rod in your wrapping jig and line the laser up so it shoots straight down the blank over the guides and tip-top. Using a white piece of paper about the size of a playing card behind the guide gives you a laser line to see if you're on the mark or not. If you’re off, you micro-adjust the alignment by giving the guide a little nudge with your thumb.
Finishing Touches
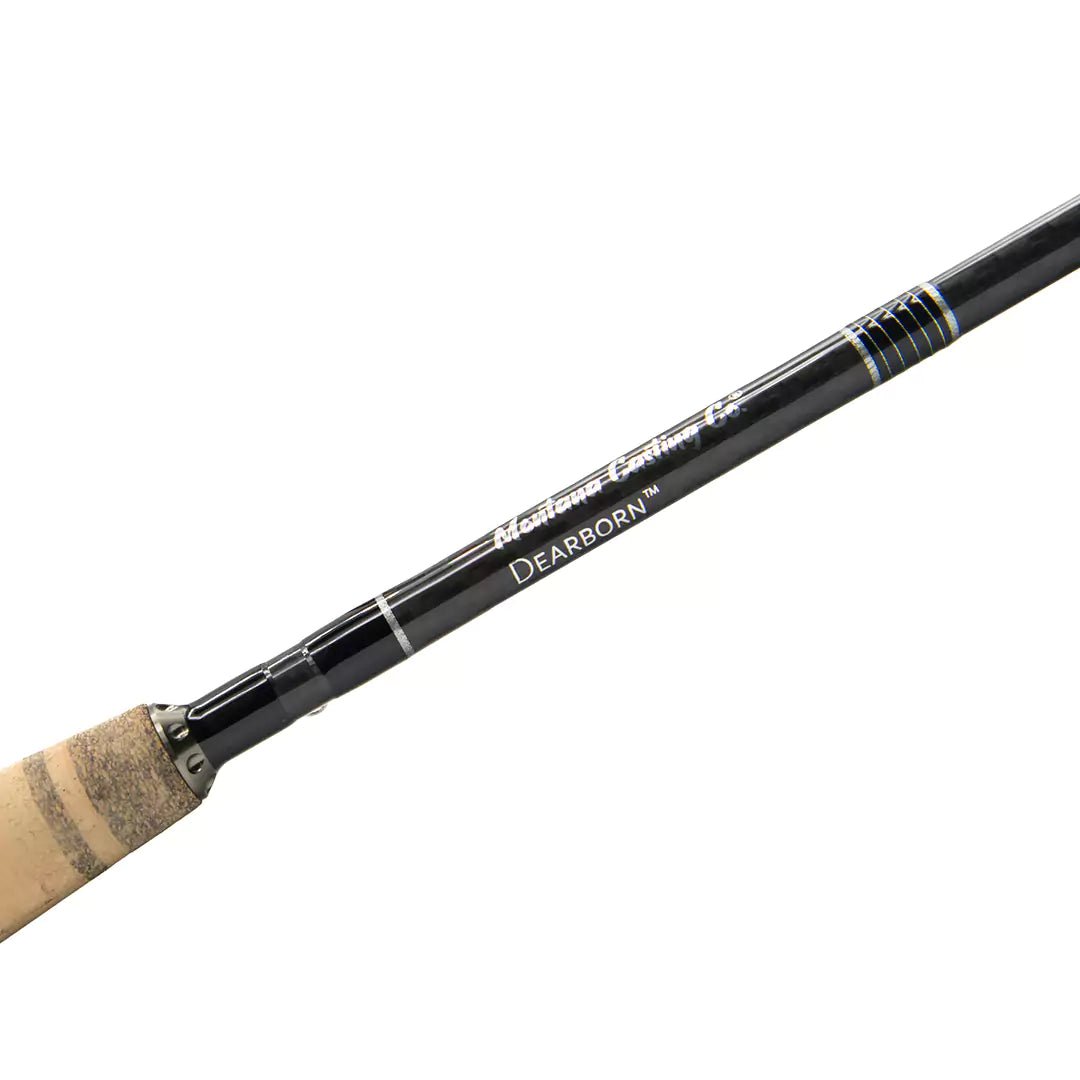
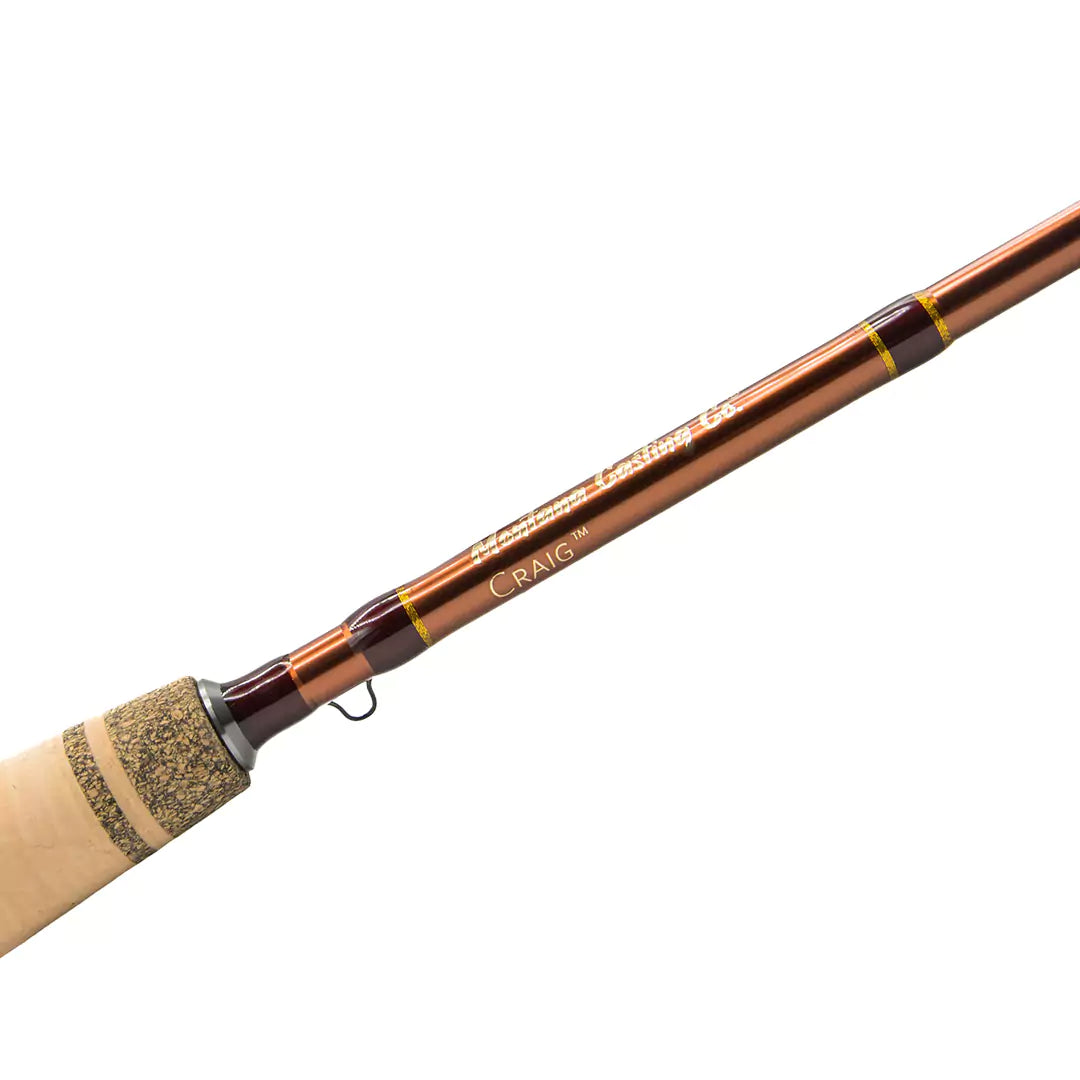
You can now put a sticker with the rod information in the signature area or write the information on the fly rod with a quill-style pen. I like to put one coat of epoxy on the rod before writing or using a sticker in the signature area to give everything a more finished look.
Epoxy
To put epoxy on the rod, you’ll need something to turn the rod very slowly as the epoxy dries. This keeps the epoxy smooth and level. There are many inexpensive rod-turning motors on the market. I know people who have used a drill as a rod-turning motor, but don’t skimp on this part—the finish is super important!
Make sure the rod is clean and free of any grease, lotion, or anything else that could cause the epoxy not to stick to the blank properly. Take your time when mixing the epoxy—you’ll want to avoid getting air bubbles in the mix.
Using a fine paintbrush, slowly apply the epoxy to the signature area and any place you have thread wraps on the rod. Once again, slow and steady wins the race. Take your time applying the epoxy to get a perfect, smooth finish; you can use a little heat from a lighter to help release any air bubbles.
Let the rod spin slowly overnight (at least eight hours), but keep in mind that it takes around 24 hours for the epoxy to fully cure. You’ll want to repeat this process for a minimum of two coats, though you can add additional coats to get the desired finish. Once it’s fully cured, it’s time to hit the water and show off your new prized fly rod!

Conclusion
I could talk for days about custom rod building. The more you do it, the more you learn about the infinite ways you can customize the performance and look of your rod. But this is a blog, not a book. If you’d like more detail on any of the stages in building a custom rod, send us an email (gethookedup@montanacastingco.com) or give us a call at 406-285-1452. I’m always happy to talk shop!
This is part three in a three-part series on custom fly rods. If you missed them, be sure to check out our blogs on Picking Your Components and Assembly. Don't forget to share your questions, comments, and stories below!
0 comments