
In our previous blog on building custom rods, Scott Joyner walked through the various components you’ll need to get started. Now, it’s time to get hands on and start putting all the pieces together! Here Scott continues to talk about building custom fly rods.
Step One: Find the Spine of the Rod
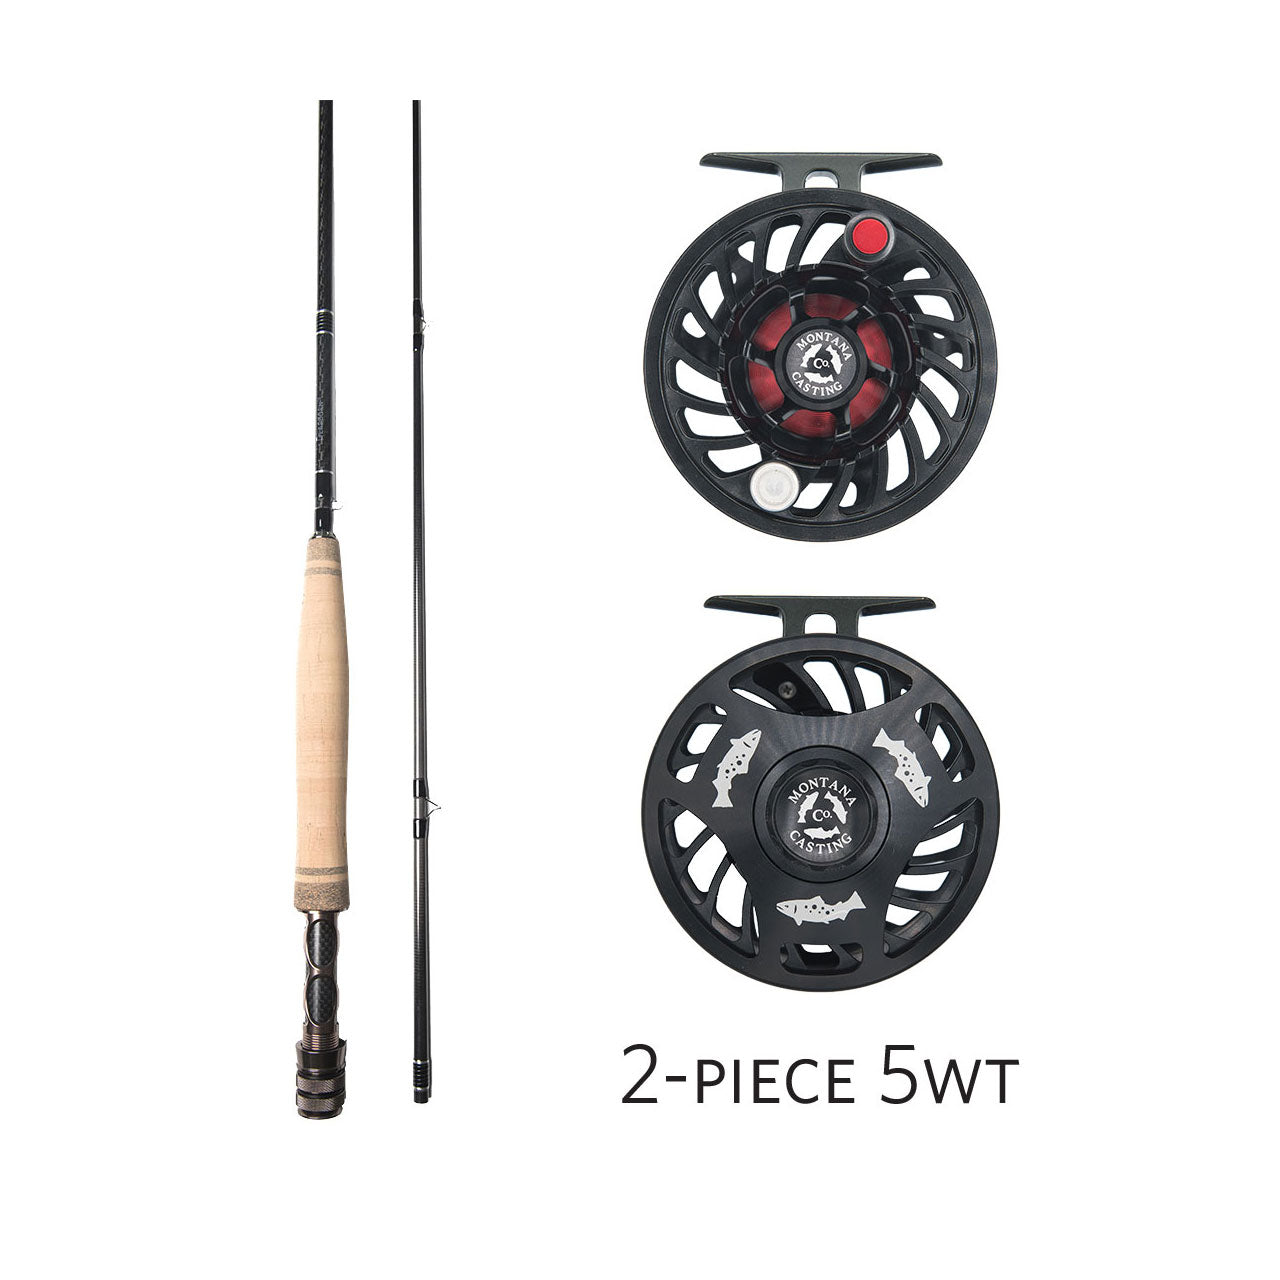
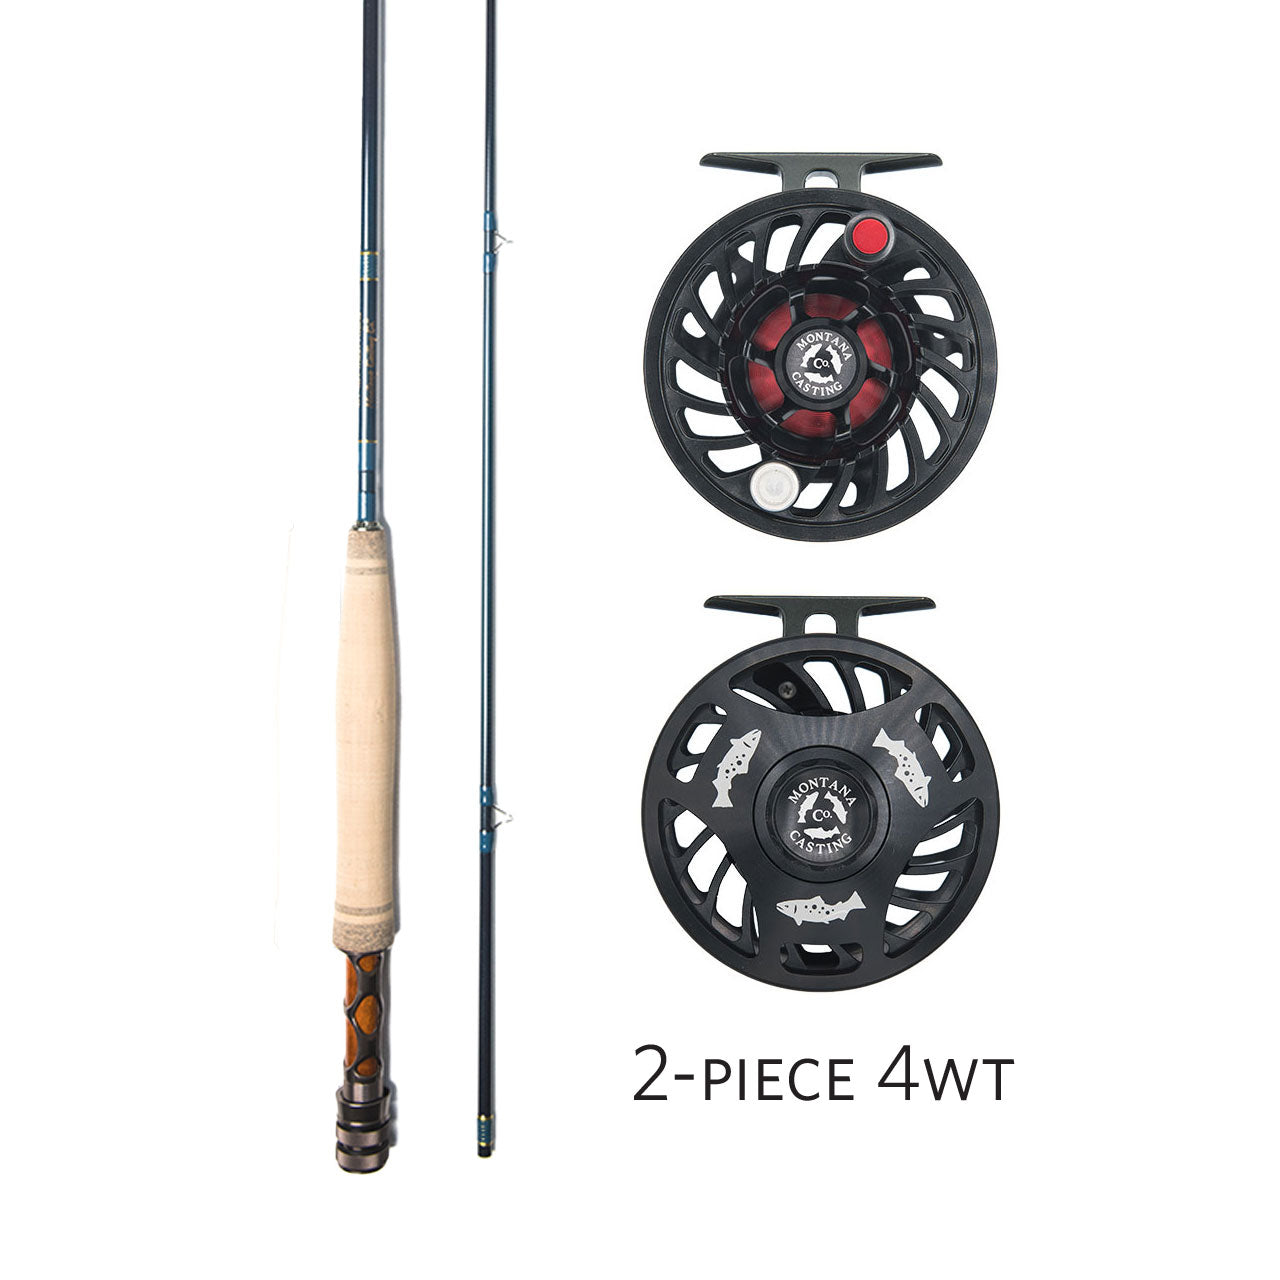
Whether you’re building a 2-piece or 4-piece fly rod, you’ll need to find the spine on all pieces. This is one of the most important steps in building a rod—if you don’t find the spine, your rod won’t be accurate, and you’ll always have to compensate when trying to hit your mark.
There are many ways to find the spine. For brevity, I’ll stick to explaining how I do it. Start by putting a piece of masking tape on both ends of each rod section, being mindful not to get tape in the way of the ferrules. You’ll want to let the base of the rod section rest on a flat surface. With one hand, gently flex the blank. With the other, roll it slowly in your fingers until it snaps over. This “snap” should be distinct—if you continue rolling the flexed blank, it will always want to return to this position.

Using a marker, put a dot on the masking tape on the inside of this natural curve—this is ultimately the side of the rod where the guides will go. (Keep in mind that for a bait-casting rod, the guides would be on the opposite side of the rod.) For thicker blanks (especially those that will be used in the butt section of the rod), getting enough flexion to do this test can be challenging. In this case, you can hold the blank up and sight down it to see its natural arc.
Step Two: Mark the Guides
Once I know which side of the rod the guides go on, I like to put the rod together, lay it on a flat surface next to a tape measure, and mark the location for each guide with a grease pencil.

There are many formulas for guide spacing online; do a little research, and you’ll find one that works for you.
This is also the time to lay out where your grip and reel seat will be on the rod. I find it helpful to dry-assemble the reel seat and grip and lay them next to the blank. Again, using the grease pencil, I can mark exactly where they’ll be on the blank. You’ll have to use a reamer or file to make the grip fit the rod; with these marks, you know when you have reamed the grip just enough for an exact fit.
Step Three: Fit the Reel Seat to the Rod
When you’re fitting the reel seat to your rod, you want it to be nice and snug. This might mean drilling the reel seat out to make it fit the diameter of the rod correctly. Alternatively, you might have to build up the rod using masking tape on the blank to fit the inside diameter of the reel seat.
I prefer drilling my reel seats to achieve a more precise fit, but all rod builders have to use masking tape from time to time to get a reel seat to fit properly. Whenever this is the case, I like to place three evenly spaced sections of tape along the section of the blank where the reel seat will rest. Roll on just enough to get a good, snug fit when you slide the reel seat over the tape. Once you have dry-fitted the reel seat and grip properly to the rod, you’re ready to glue it into place. A good quality five-minute epoxy works great for this!

I start by applying epoxy to the reel seat area of the blank and then slide the reel seat into place. When you do this, make sure the reel seat is aligned properly—you want the reel on the same side of the rod as the guides will be on. Next, you’ll want to apply epoxy to the area where the grip will go. (Be careful not apply too much; you don’t want epoxy running out and getting all over your new reel seat!)
Slide your winding check into place and double-check the reel seat alignment is correct. Be sure to have a cloth handy to wipe off any extra epoxy. Stand the rod straight up and down until the epoxy dries, but keep an eye on it—the epoxy gets warm as it cures and can cause the reel seat and grip to push apart.
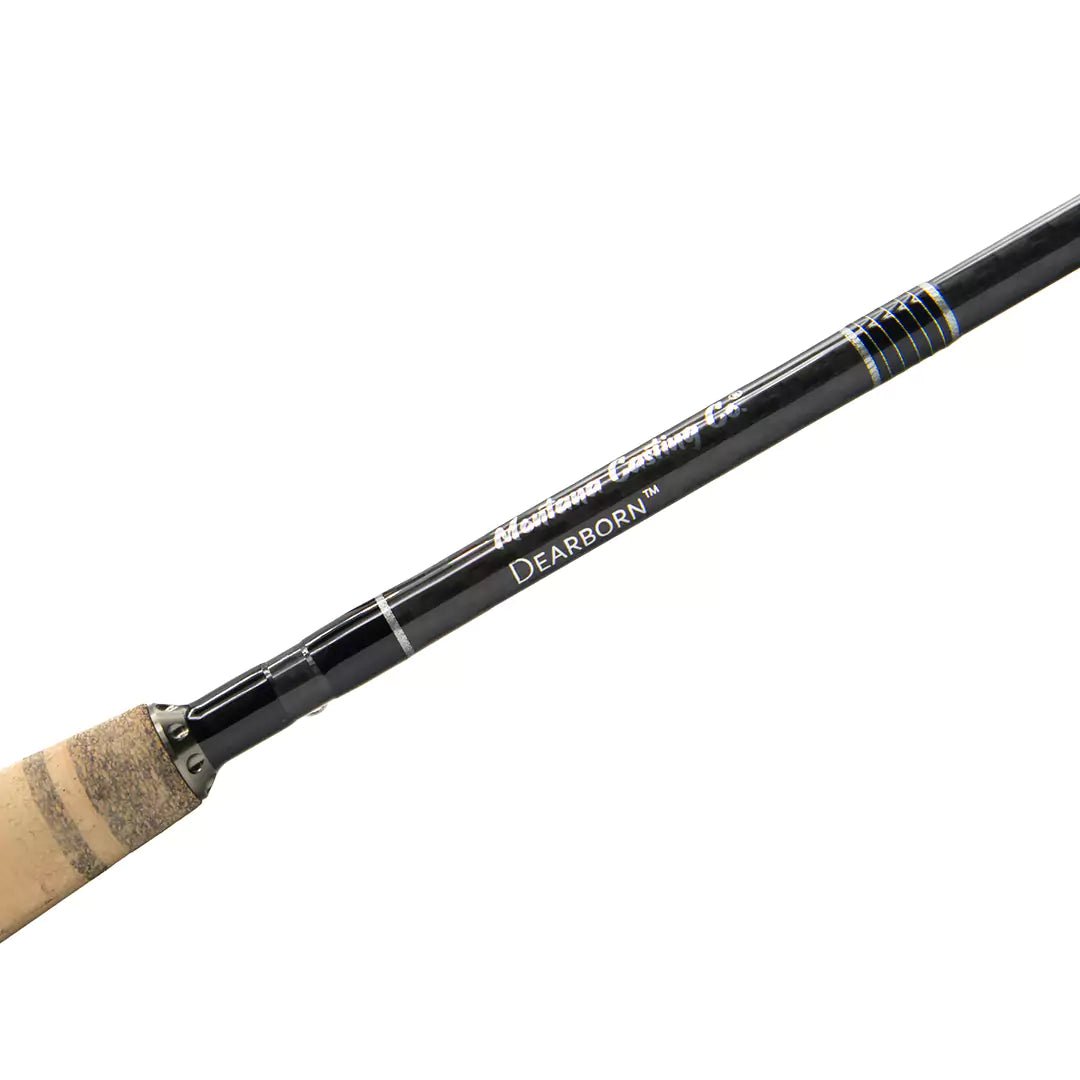
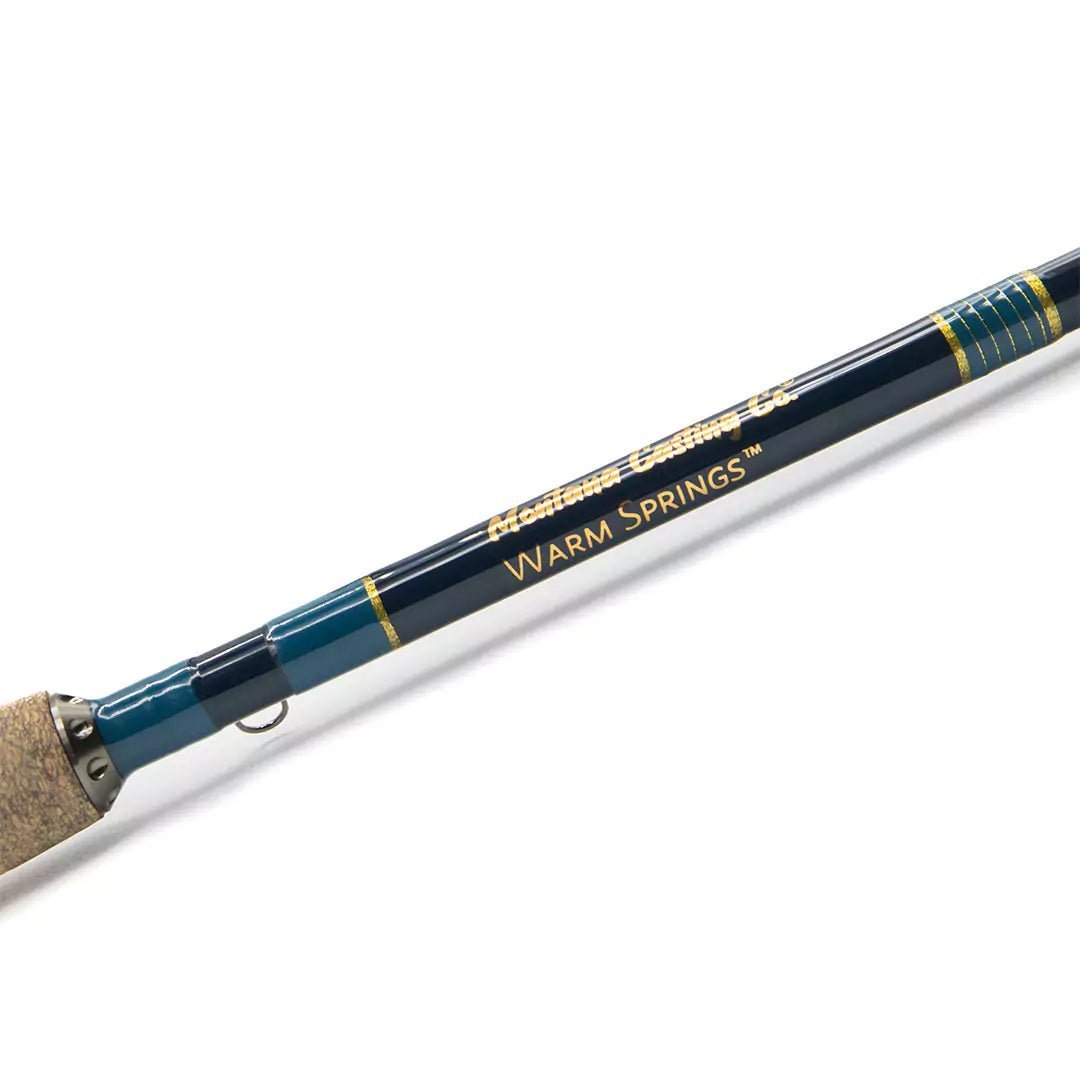
Step Four: Adding the Tip-Top
The tip-top is simply glued on using hot glue, epoxy, or super glue. Make sure the tip-top is in proper alignment with the spine of the rod so it will align correctly with all of the guides.
Questions?
There’s a lot that goes into building a custom rod—and many ways to go about it. Instead of making this blog a mile long, I decided to focus on the most important details. If you’ve got questions or would like to go into more detail on any of the areas mentioned above, send us an email (gethookedup@montanacastingco.com) or give us a call at 406-285-1452. I’m happy to field your questions!
This is part two in a three-part series on custom fly rods. Check back next week to read the final installation on finishing your fly rod!


0 comments